Accounts
Learning Outcome
On successful completion of this lesson, students will understand how to create a new account, find an existing account and how to make a payment on an account.
Lesson
Creating a New Account
- To create a new Account, click Accounts, New in the Sales Module
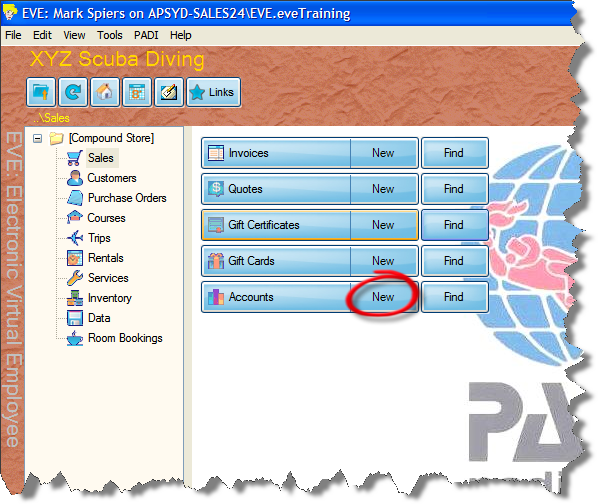
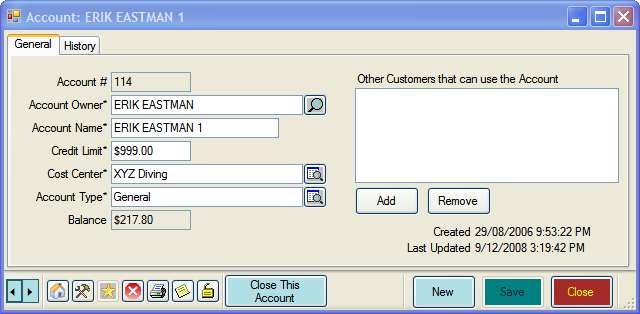
- The ‘New Accounts’ box will open
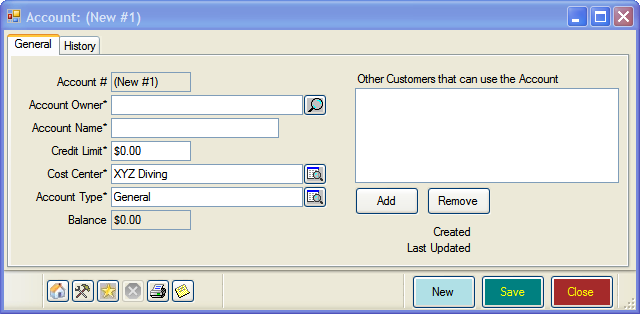
- Enter the following information:
- Account Owner – The name of the person who owns this account.
- Account Name – This is the name that you give to the account. When creating a new account EVE assigns a default account name, consisting of the customer’s name and an incremental number (i.e. 1 for their first account, 2 for their second account, etc.). You can change this if you wish.
- Credit Limit – Set the maximum amount of credit this customer can have. EVE will warn you if a sale would take the customer over their limit.
- Cost Centre – Each account is associated with a Cost Center. When you choose an account the Cost Center to which it relates is shown. It cannot be changed. Only accounts valid at the cost center at which the customer is making the purchase can be used.
- Account Type – the account type defaults to General. You can create accounts for different purposes, for example, trip account, course account, etc.
- Other Customers that can use the Account – You can click the Add or Remove button to add/remove other customers that can use the Account. When these customers are making purchases on account, this account will be displayed as an available option. It is the account owner who will receive the account statement and all transactions made by any of the customers allowed to use the account will appear on the statement.
- Click ‘Save’ to create the account
Finding an Existing Account
- To find an existing Account, click Accounts, Find in the Sales Module.
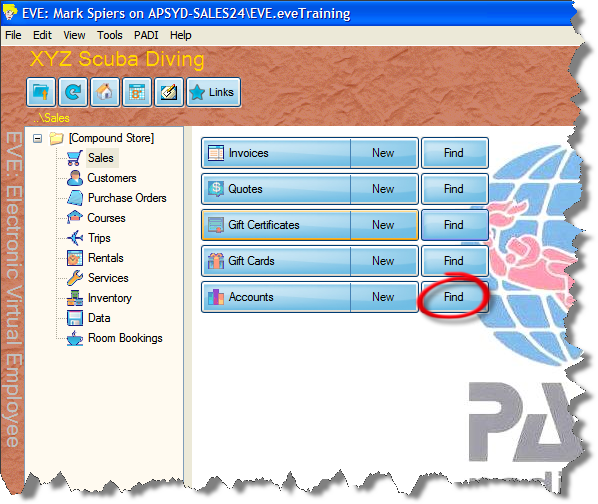
- The Account Search box will appear
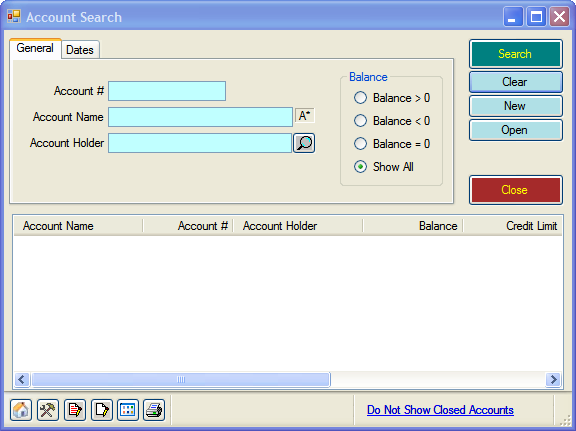
- Enter data into any of the fields and click search.
- A list of Accounts matching the criteria you have entered will appear.
- Double-click the Account you wish to view.
- The Account information box will open
- The first tab is exactly the same as the one we used to create an account earlier. This is covered in the ‘Creating a New Account’ section above.
- Click on the ‘History Tab’. The following will be displayed
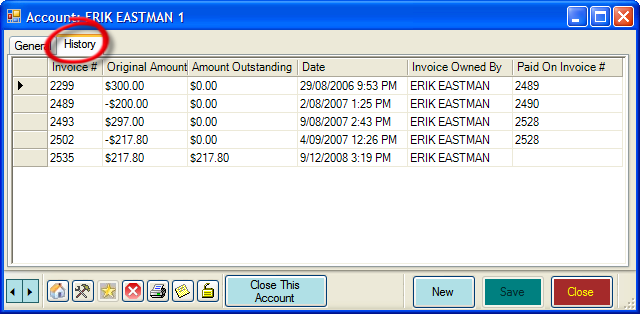
- This shows all the transactions on the account.
Making a Payment on an Account
- Create a ‘New Invoice’ and select the customer making the payment.
- On the Sales Invoice, click the ‘Unpaid Invoices’ tab.
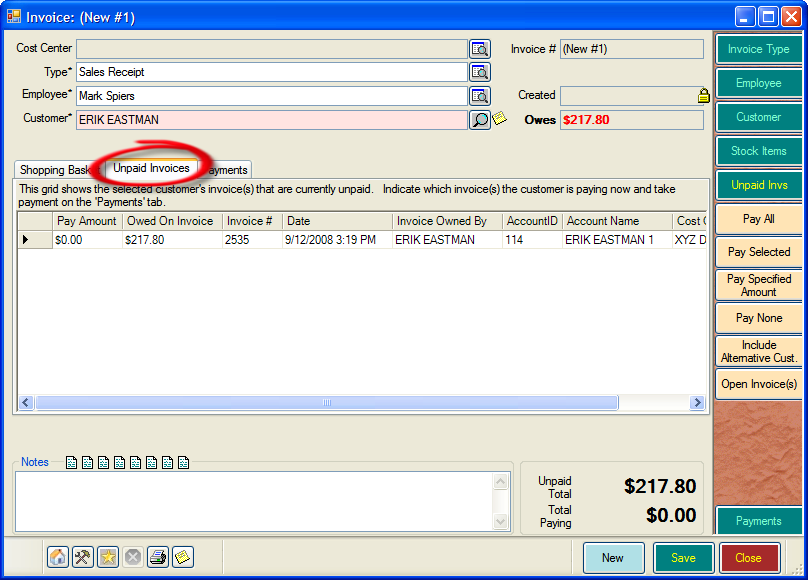
- This will show all the invoices on the account that are still awaiting full payment.
- In the Cool Bar, on the right-hand side, you have several options:
- Pay All – This will pay all of the outstanding invoices
- Pay Selected – Select one or more invoices in the grid, then click this button to only pay these.
- Pay Specified Amount – In this case, EVE will choose which invoice(s) will be paid by starting with the oldest and assigning an amount to each one until the full amount being paid has been exhausted.
- Pay None – to zero out the payments so you can start again if you made a mistake.
- Include Alternative Customers – if the customer is going to pay for somebody else’s outstanding invoices. EVE will show the Customer Search form so you can choose the alternative customer and will then list that person’s outstanding invoices.
- Open Invoice(s) – Select one or more outstanding invoices in the grid and click this button to view details of those invoices.
- Once you have decided on the payments to be made, you can finish this invoice as normal, by taking payment and creating a receipt.