Seating Planner
Learning Outcome
On successful completion of this lesson, students will understand the function of the Seating Planner and how to use it.
Lesson
The seating planner is a helpful tool to quickly move customers from one trip to another. The planner allows you to sell ‘generic’ places on a trip and then prior to the trip, assign specific customers to specific trip dates/times.
Using the Seating Planner
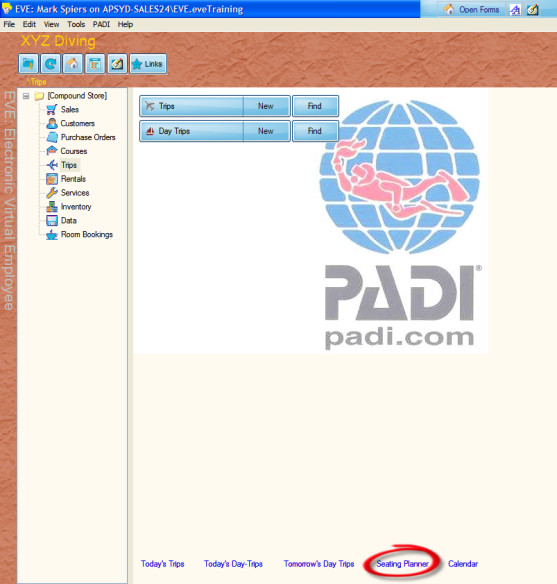
- In the Trips Module, click on ‘Seating Planner’ at the bottom of the screen.
- You can add multiple trips using the ‘Add Trip’ or ‘Add Day Trip’ button at the bottom of the screen.
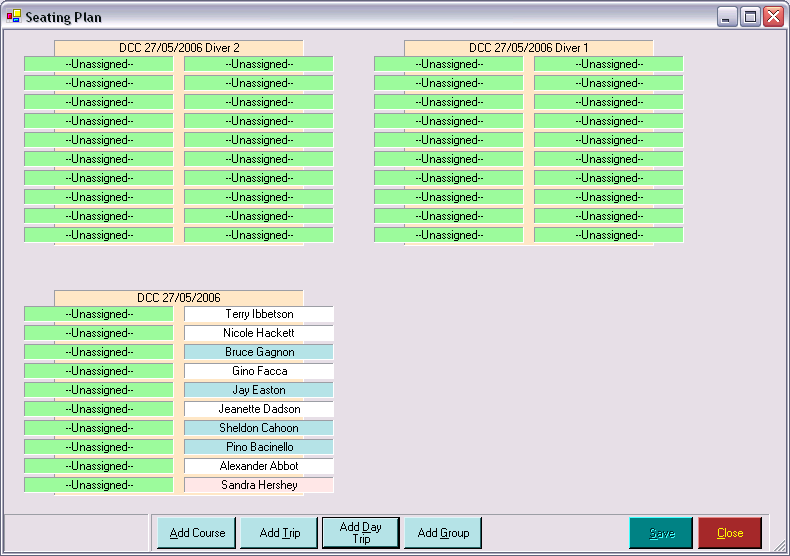
- In the example above, three Day Trips were created and places were sold to customers on the generic trip (DCC 27/05/2006). No places were sold on the two specific trips (Diver 1 or Diver 2).
- To move customers from one trip to another, click on the customer with your Left Mouse button and while holding it down, move the customer to another trip session (drag & drop).
- As you move customers, the slot they are leaving will become ‘unassigned’ and the slot they are moving to will show their name.
- If you want to move all of the customers from one trip to another, double click on the background of the trip (or right click on the background and then click Select All) so all customers are selected in black. Then drag from the black area and drop on the background of the target trip.
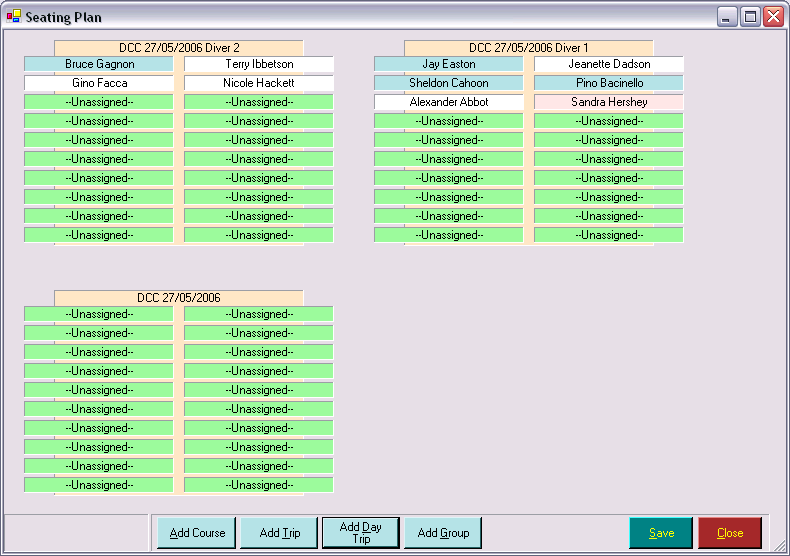
- You may use the seating planner to balance customer numbers on trips on the same date or to move customers from one trip to another.
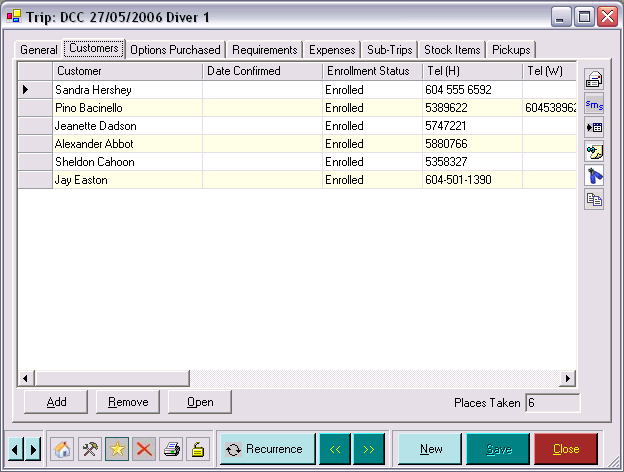
- Once you have moved customers from one trip to another, they will be displayed on the Customers tab of the new trip.