Galleries – Components
Learning Outcome
On successful completion of this lesson, students will understand how to set up and use the ‘Galleries’ function.
Lesson
There are two types of galleries supported by your EVE website – images and videos. By default the gallery pages are found in the ‘Community’/’Galleries’ section of the main menu.
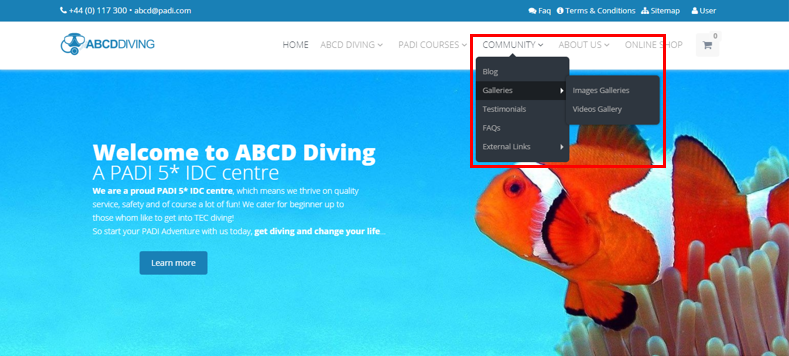
Specific galleries can also be chosen to appear on different website pages.
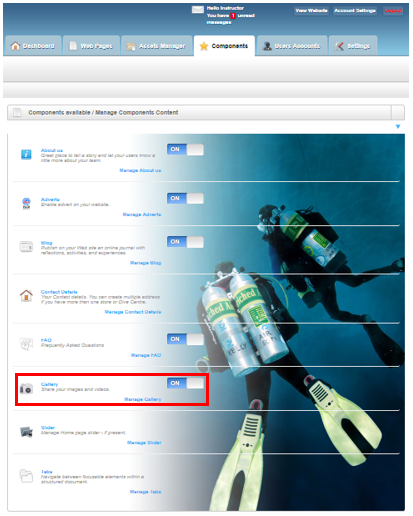
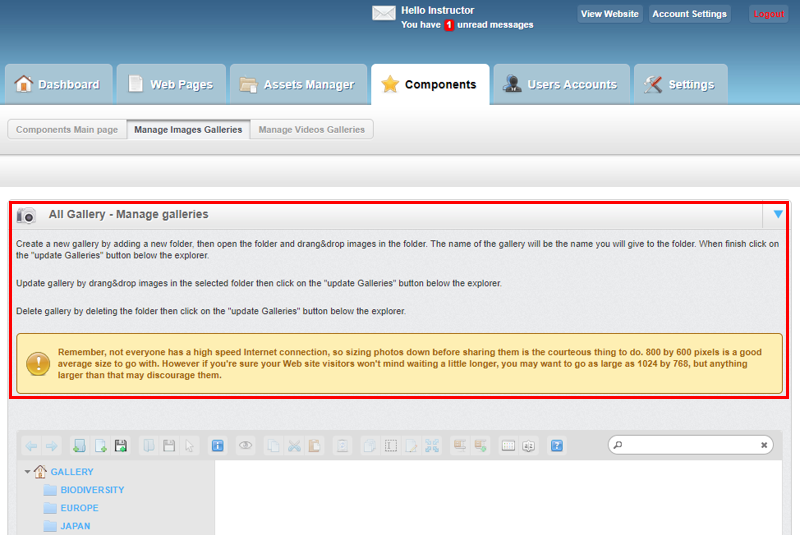
The website has the ability to display galleries. The ‘Gallery’ pages are managed from the ‘Components’ page and can globally be switched ‘ON’ or ‘OFF’. To edit the ‘Gallery’ pages you need to click the ‘Manage Gallery’ link in the ‘Gallery’ section.
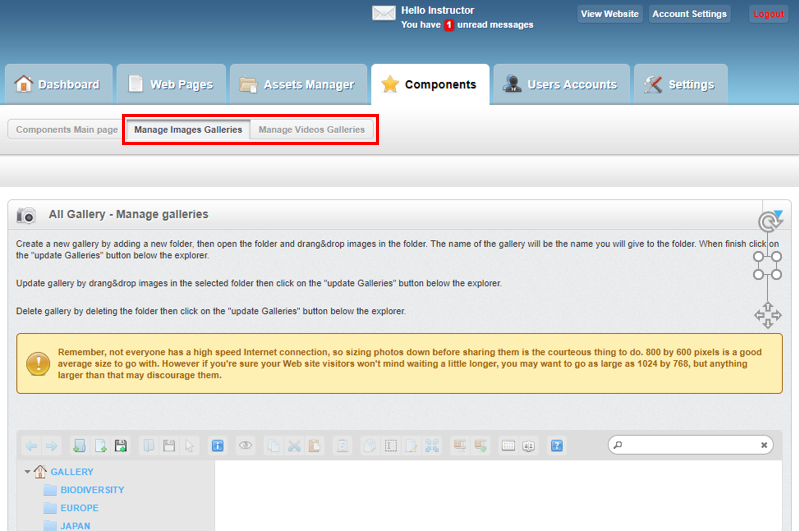
In the ‘Manage Gallery’ page you will see that there are 2 tabs – ‘Manage Image Galleries’ and ‘Manage Video Galleries’.
Managing image galleries
To manage the image galleries you need to click on the ‘Manage Image Galleries’ tab.
On the ‘Manage Images Galleries’ tab there is a text box with instructions about how to create, modify and delete galleries as well as recommendation about image sizes.
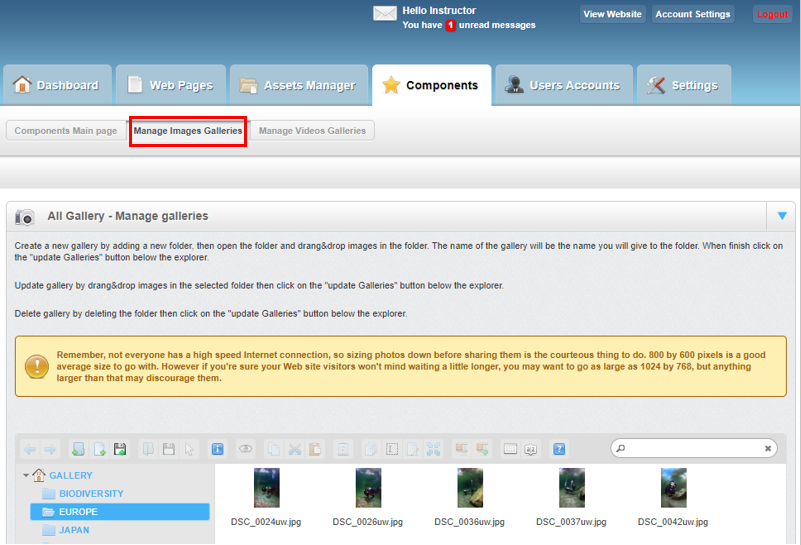
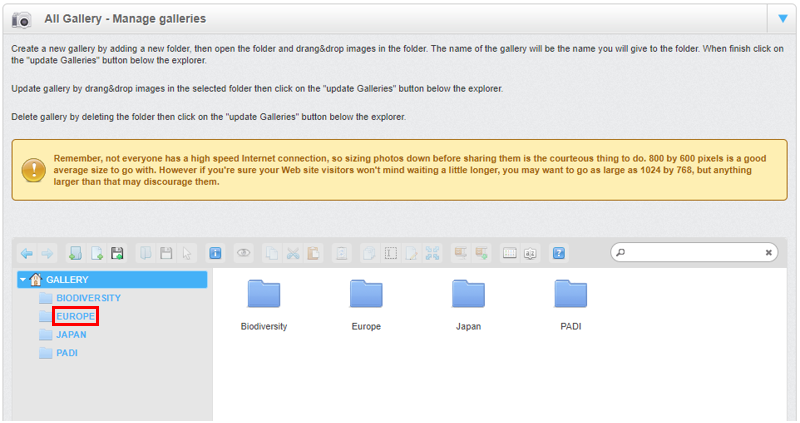
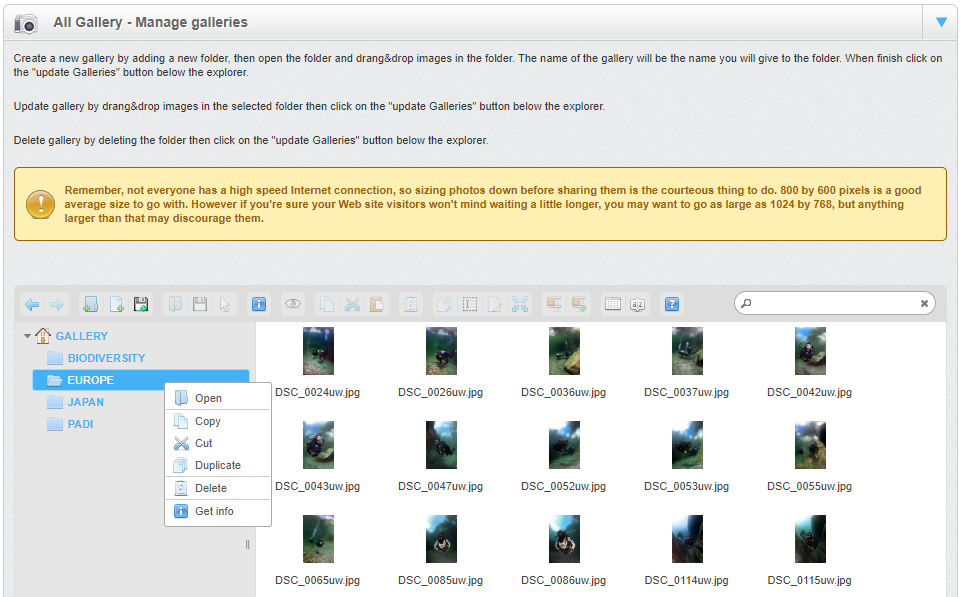
To modify an existing gallery click on the appropriate gallery folder hyperlink on the left hand side in the ‘All Gallery – Manage galleries’ section:
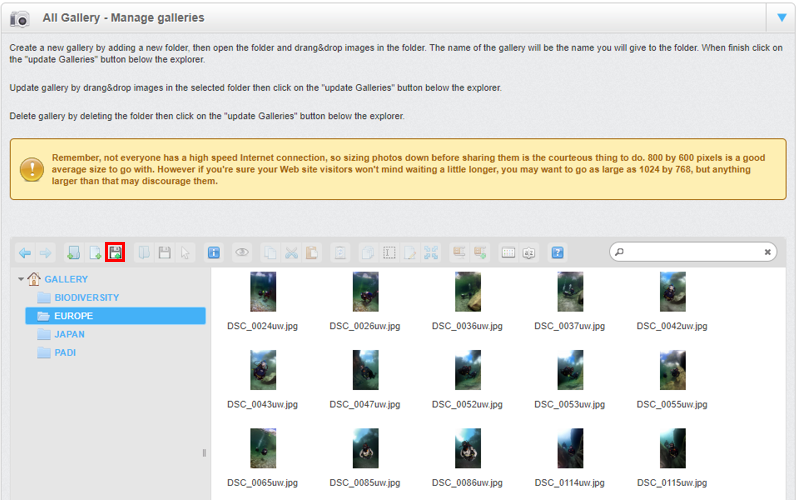
Images can then be added to the gallery by clicking the ‘Upload files’ icon.
Images can be renamed, resized/rotated or deleted by right clicking on them to bring up the options window.
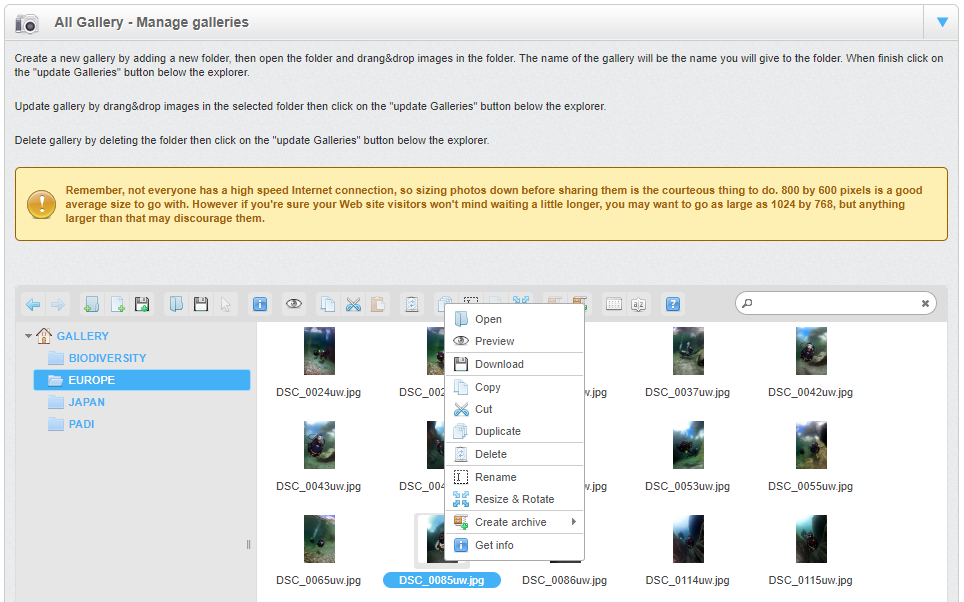
Galleries can be deleted by clicking on the gallery folder hyperlink in the ‘All Gallery – Manage galleries’ section and then right clicking to bring up the options window and selecting delete.
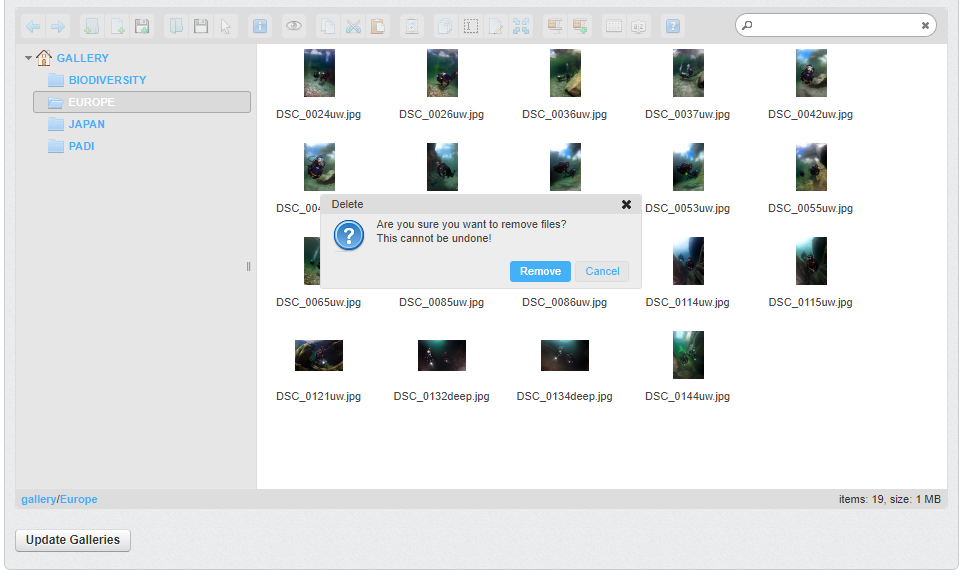
Select ‘Delete’ which will bring up the ‘Delete’ window which contains a message asking if you are sure you want to delete the gallery and remove the associated image files – be aware this action cannot be undone. If you are sure you want to delete the advert click the ‘Remove’ button.
To create a new image gallery, click on the ‘GALLERY’ folder hyperlink on the left hand side in the ‘All Gallery – Manage galleries’ section and then click the ‘New folder’ icon.
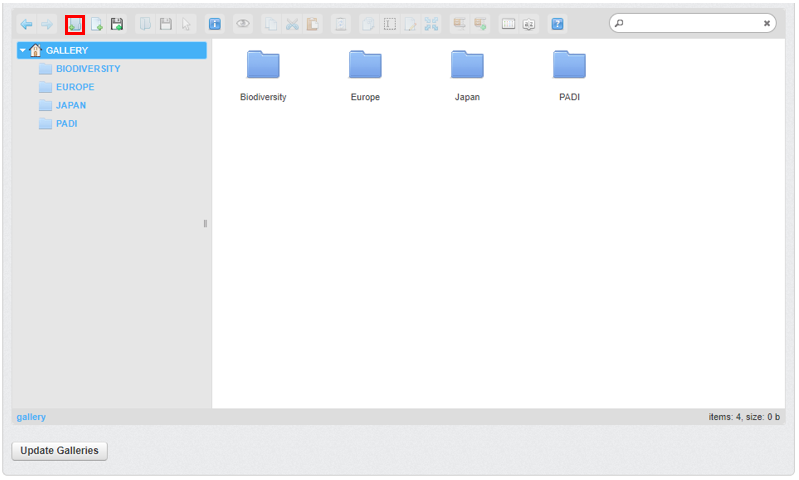
This will create an ‘untitled folder’ which can be renamed by right clicking to bring up the options window and then selecting ‘Rename’. Images can then be added to the folder using ‘Add file’ icon (see instructions above).

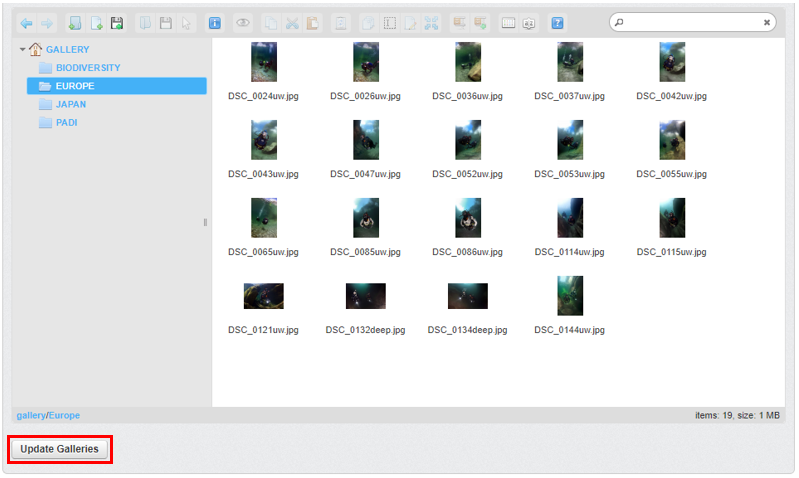
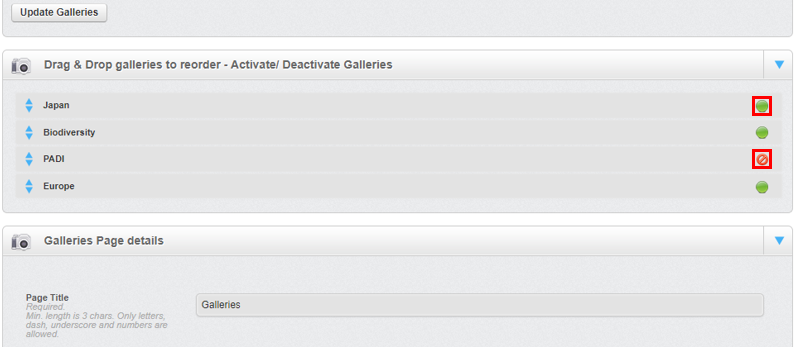
It is important to remember that if you have made any changes you must scroll to the bottom of the ‘All Gallery – Manage galleries’ section and then click the ‘Update Galleries’ button to save and implement your changes.
The order in which the galleries are displayed on the ‘Image Galleries’ web page can be modified in the Drag & Drop galleries to reorder – Activate/ Deactivate Galleries’ section. Click and hold down the mouse button on the hyperlink of the gallery and drag it up or down the list to the appropriate position and then release the button.

Galleries can be hidden or shown on the ‘Image Galleries’ web page by clicking the green icon button to turn it into a red ‘no entry icon and vice versa.
Editing the ‘Image Galleries’ web page
The ‘Galleries Page detail’ section is where you manage how your Images Galleries page is displayed on the website.

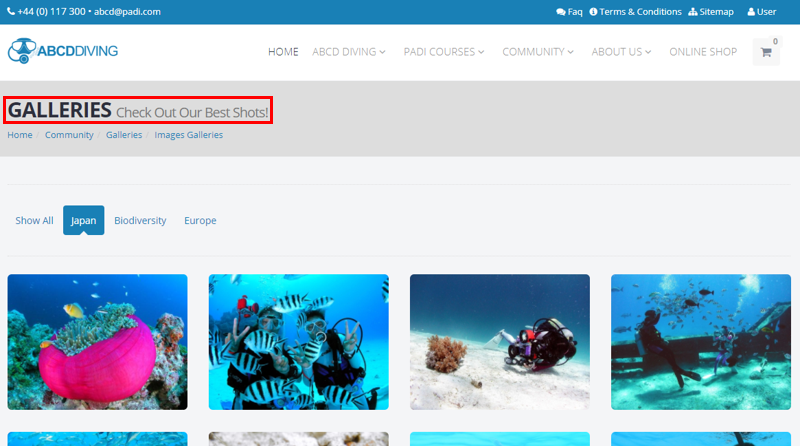
The ‘Page Title’ and ‘Page Subtitle’ can be easily edited by just clicking into the respective text boxes and then modifying the text.
It is important to remember that if you have made any changes you must scroll to the bottom of the ‘Galleries Page details’ section and then click the ‘Save’ button to save and implement your changes.
The ‘Page Title’ and ‘Page Subtitle’ are found here on the web page:
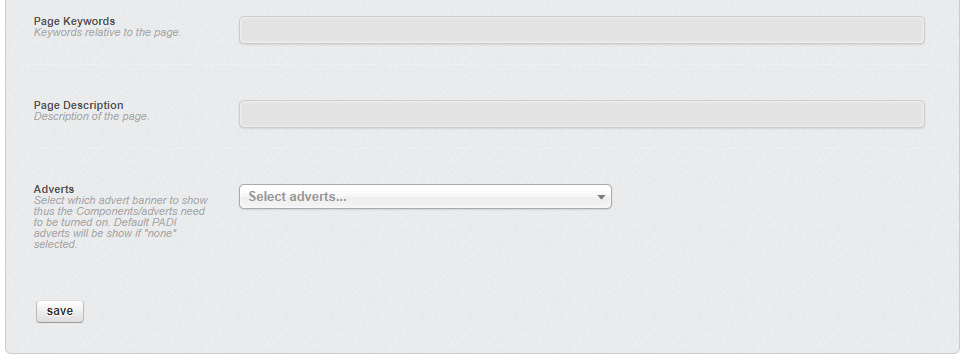
It is important that your main blog page contains the correct words for ‘Page Keywords’ and ‘Page Description’ which are important for your Search Engine Optimisation (SEO).
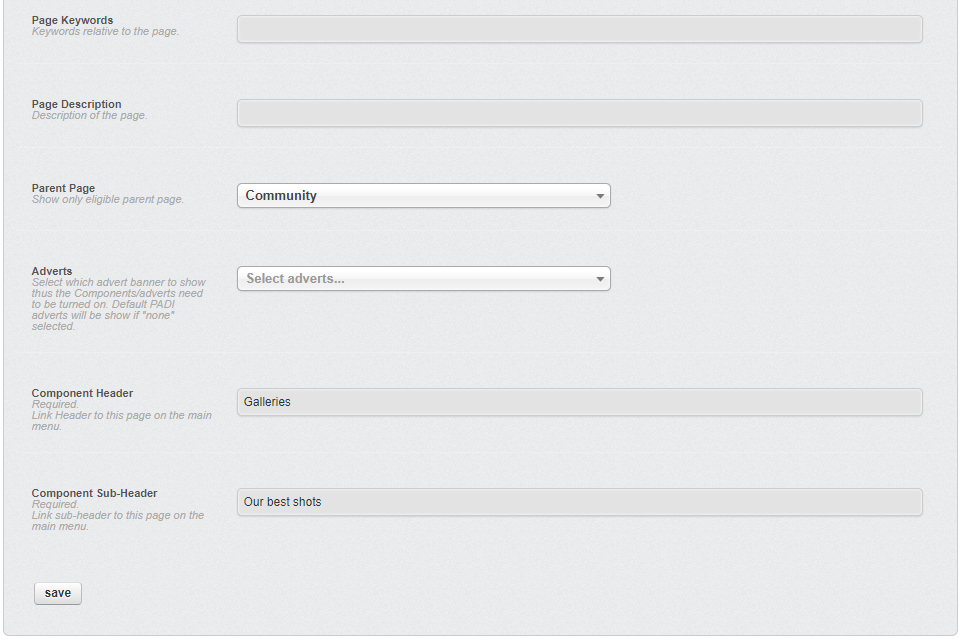
The ‘Parent Page’ option is used to locate the page within the menu of the website.
You are able to select which advert banner appears using the drop down box. It is important to note that the default ‘PADI’ advert list (see the ‘Adverts’ lesson for more information) will be shown if another advert hasn’t been selected.
The component header is the link for the main blog page that appears in the main menu.
It is important to remember that if you have made any changes you must scroll to the bottom of the ‘Galleries Page details’ section and then click the ‘Save’ button to save and implement your changes.
Manage video galleries
To manage the image galleries you need to click on the ‘Manage Image Galleries’ tab.

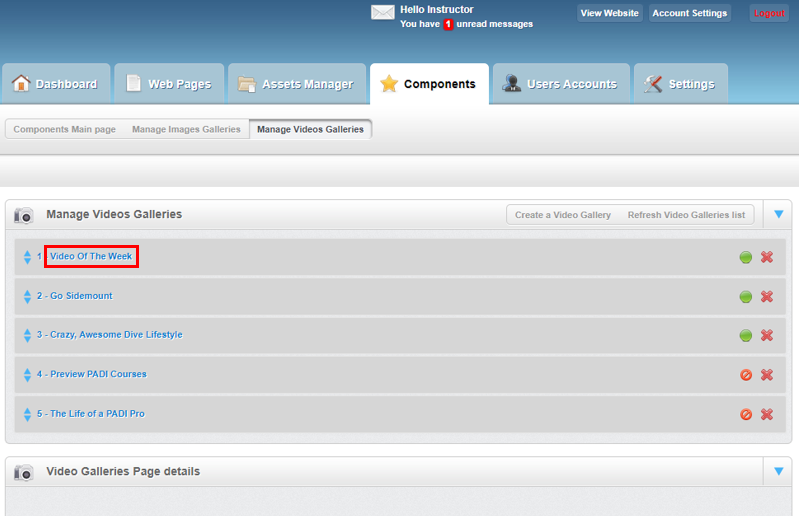
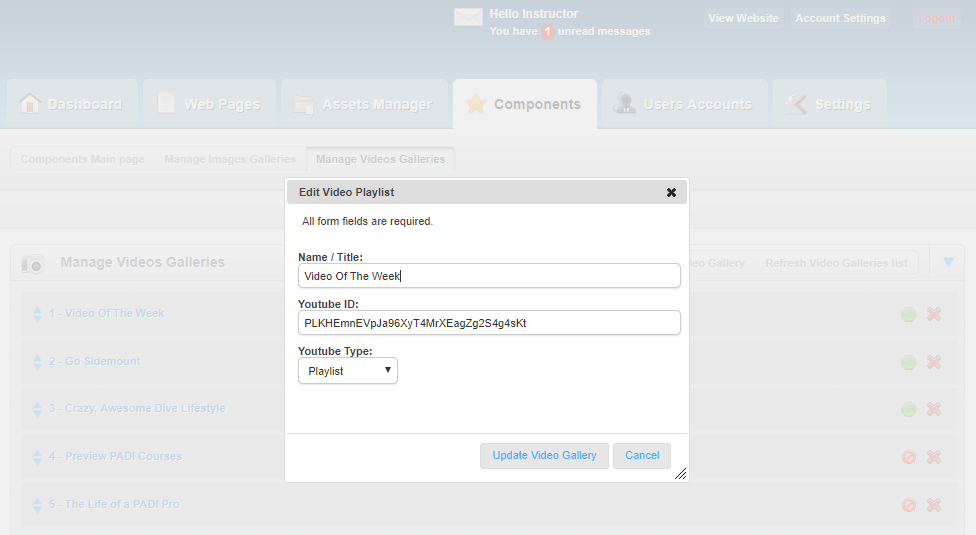
To modify an existing gallery click on the appropriate gallery folder hyperlink in the ‘Manage Video Galleries’ section.
This will bring up the ‘Edit Video Playlist’ window where you can modify the title of the gallery, change the YouTube ID (URL of the video in YouTube) and select what type of YouTube video it is. Make sure to click the ‘Update Video Gallery’ button to save and implement your changes.
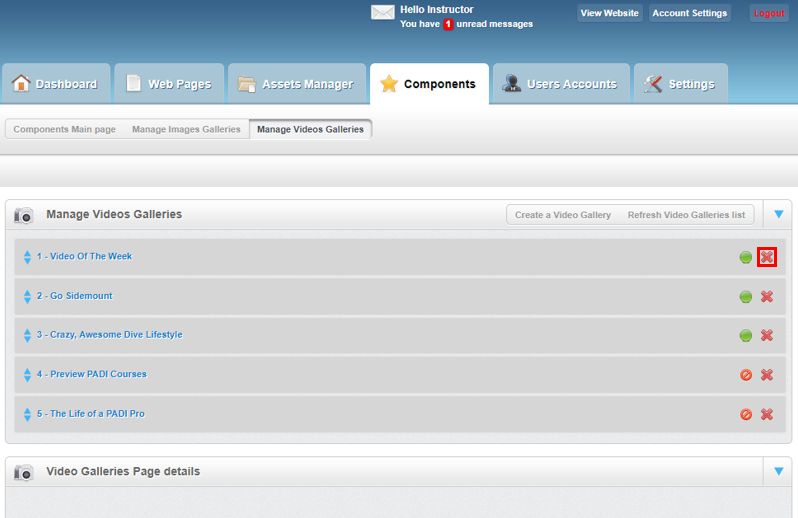
To permanently delete a video gallery click the ‘Delete’ icon but be aware this action cannot be undone.
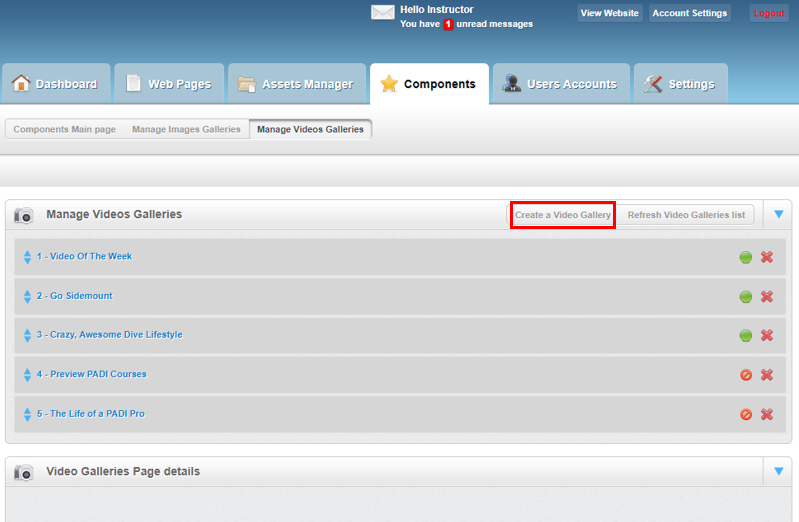
To create a new video gallery, click on the ‘Create a Video Gallery’ button.
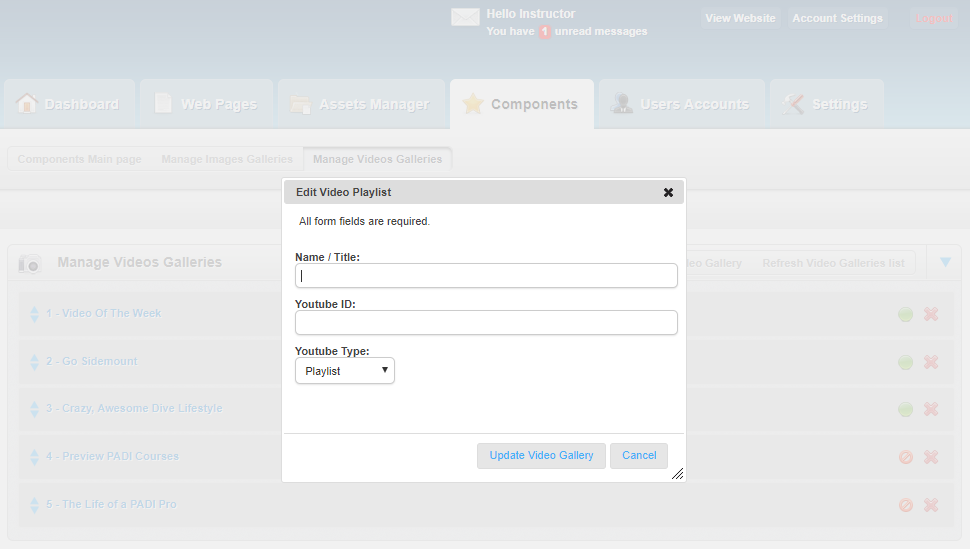
This will bring up the ‘Edit Video Playlist’ window where you add the title of the gallery, add in the YouTube ID (URL of the video in YouTube) and select what type of YouTube video it is. Make sure to click the ‘Update Video Gallery’ button to save and implement your changes.
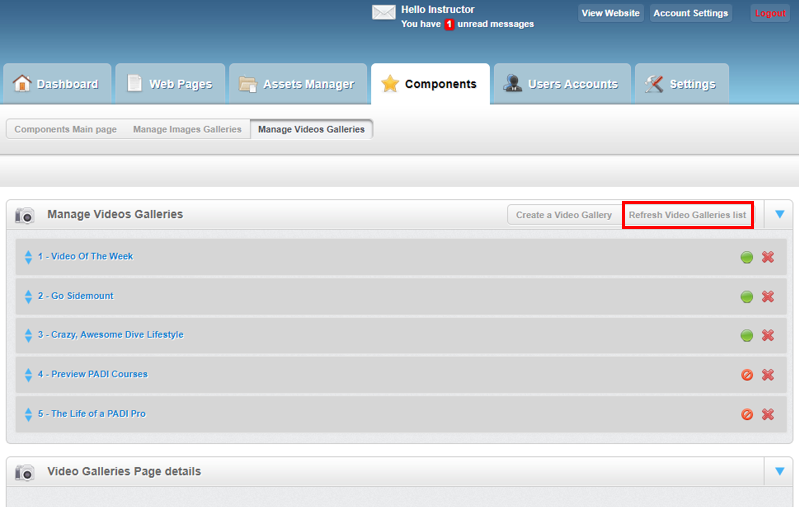
To view the newly saved gallery in the ‘Manage Videos Galleries’ list click the ‘Refresh Video Galleries list’ button:
The order in which the galleries are displayed on the ‘Video Galleries’ web page can be modified by clicking and holding down the mouse button on the hyperlink of the gallery and dragging it up or down the list to the appropriate position and then releasing the button.
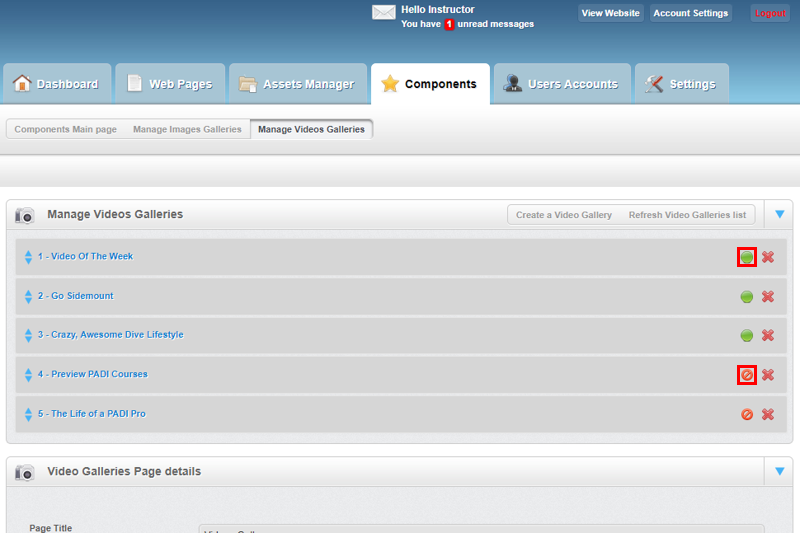
Video galleries can be hidden or shown on the ‘Video Galleries’ web page by clicking the green icon button to turn it into a red ‘no entry icon and vice versa.
Editing the ‘Video Galleries’ web page
The ‘Video Page detail’ section is where you manage how your Video Galleries page is displayed on the website.
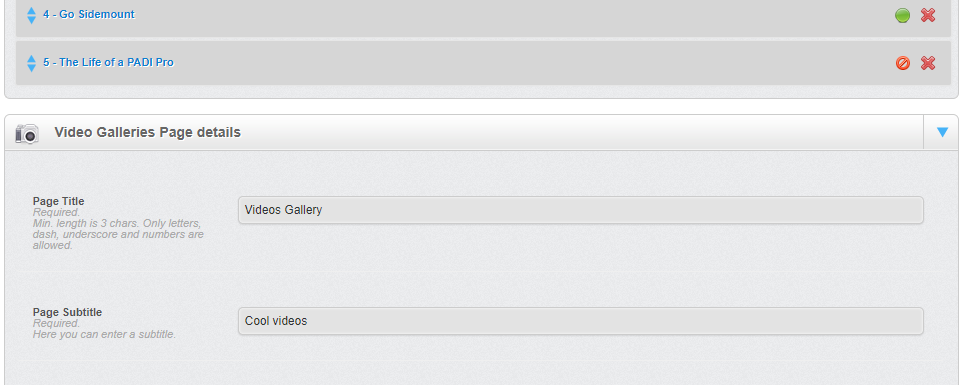
The ‘Page Title’ and ‘Page Subtitle’ can be easily edited by just clicking into the respective text boxes and then modifying the text.
It is important to remember that if you have made any changes you must scroll to the bottom of the ‘Galleries Page details’ section and then click the ‘Save’ button to save and implement your changes.
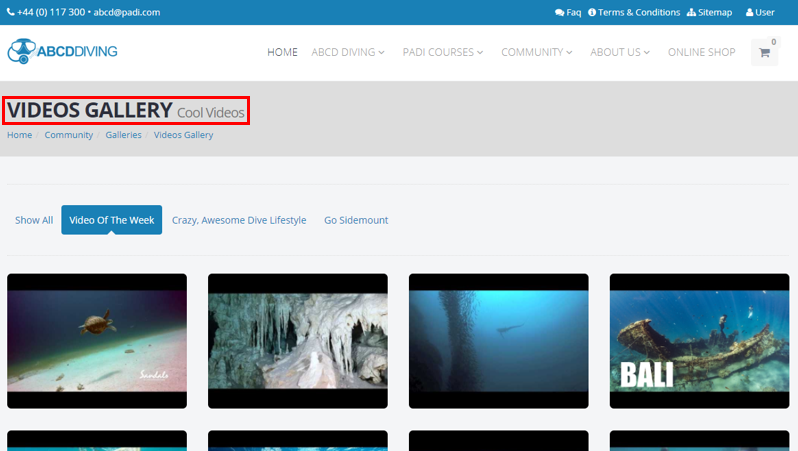
The ‘Page Title’ and ‘Page Subtitle’ are found here on the web page:
It is important that your main blog page contains the correct words for ‘Page Keywords’ and ‘Page Description’ which are important for your Search Engine Optimisation (SEO).
You are able to select which advert banner appears using the drop down box. It is important to note that the default ‘PADI’ advert list (see the ‘Adverts’ lesson for more information) will be shown if another advert hasn’t been selected.
It is important to remember that if you have made any changes you must scroll to the bottom of the ‘Video Galleries Page details’ section and then click the ‘Save’ button to save and implement your changes.