How to Create a Campaign in MailChimp Using a Saved Template (Preview)
Learning Outcome
On successful completion of this lesson, students will understand how to create a ‘Campaign’ in MailChimp using a saved email template.
Lesson
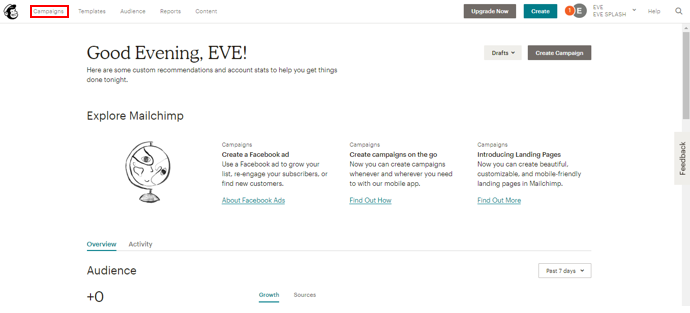
To be able to create a new ‘Campaign’ using a that can be used by your EVE database and EVE Agent, you will first need to login to your MailChimp account and click the ‘Campaign’ tab in the top menu:
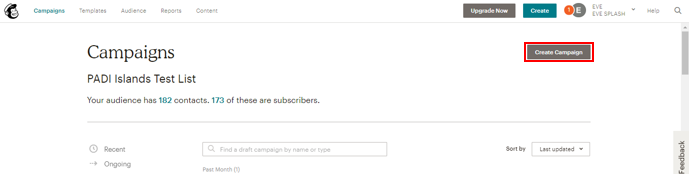
On the ‘Campaigns’ page, you must click the ‘Create Campaign’ button:
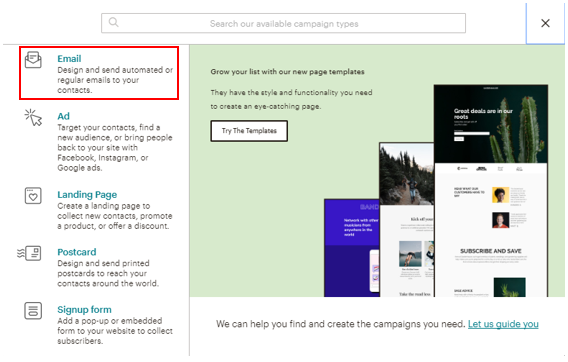
This opens up an options campaign options window. Click on the ‘Email’ option:
On the ‘Create an email’ campaign options window, it will automatically default to the ‘Regular’ email option (which is what the EVE Agent requires). You will need to create a ‘Campaign Name’ by typing it into the box. This campaign name cannot viewed by the person receiving the email it is just to help you organise your MailChimp campaigns. Then click the ‘Begin’ button:

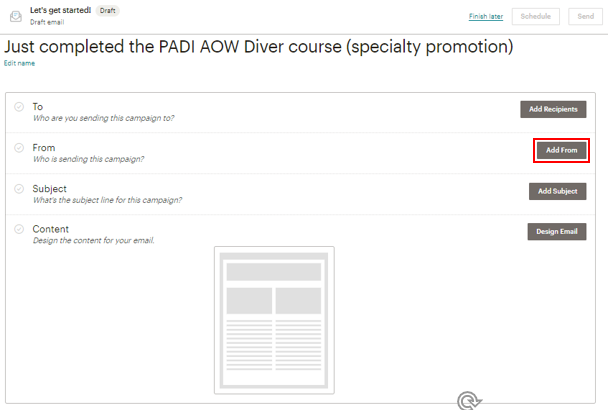
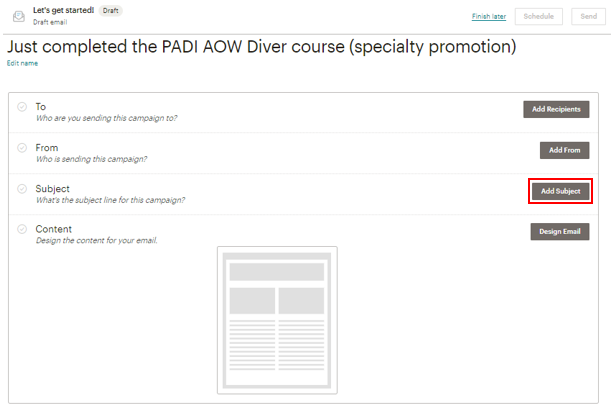
On the ‘Let’s get started! Draft email’ page, there are options to:
- ‘Add Recipients’
- ‘Add From’
- ‘Add Subject’
- ‘Design Email’
Click on the ‘Add Recipients’ button to be able to select the MailChimp ‘Audience that the new campaign will be attributed to:

Click on the ‘Audience’ drop down option and select the appropriate audience and then click the ‘Save’ button:

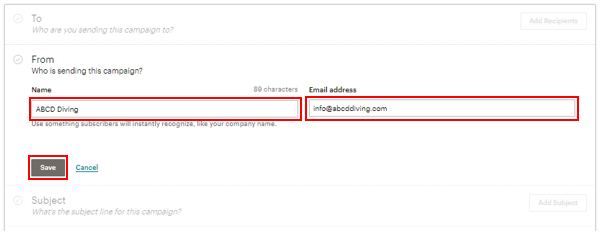
The next step is to click the ‘Add From’:
This will allow you to enter the ‘Name’ of your dive centre (so that it displays in your customer’s email inbox) and the ‘Email address’ (so that people will be able to reply to the email they receive). Once you are happy, click the ‘Save’ button to move onto the next section:
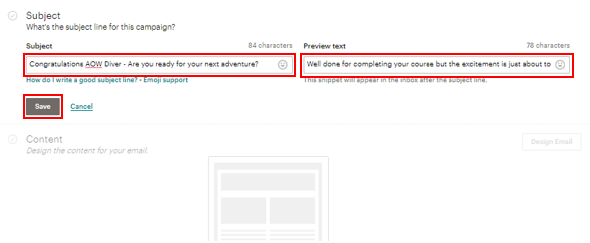
The next section to fill in is the ‘Subject’ field, click the ‘Add Subject’ button:
This will allow you to enter the ‘Subject’ text (essentially the title of the email) and the ‘Preview text’ which is the snippet of information that displays just below the title of the email when it appears in your customer’s email inbox. Once you are happy, click the ‘Save’ button to move onto the next section:
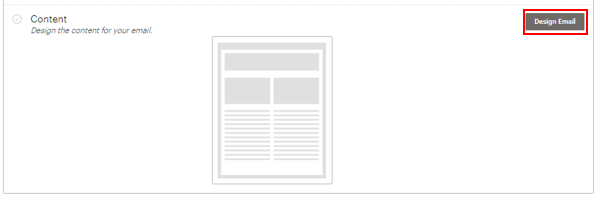
The final section on the ‘Let’s get started! Draft email’ page is the ‘Content’ section which allows you to design or use a saved email template for this ‘Campaign’. Click the ‘Design Email’ button:
This will take you to the ‘Select a template’ page. Here you want to click the ‘Saved templates’ tab in the top menu so that you can find one the saved EVE email templates that you have already personalised for your dive centre:

The ‘Saved templates’ page allows you use a search function to find the desired template that has been saved. Once you can see the template, simply click on it:

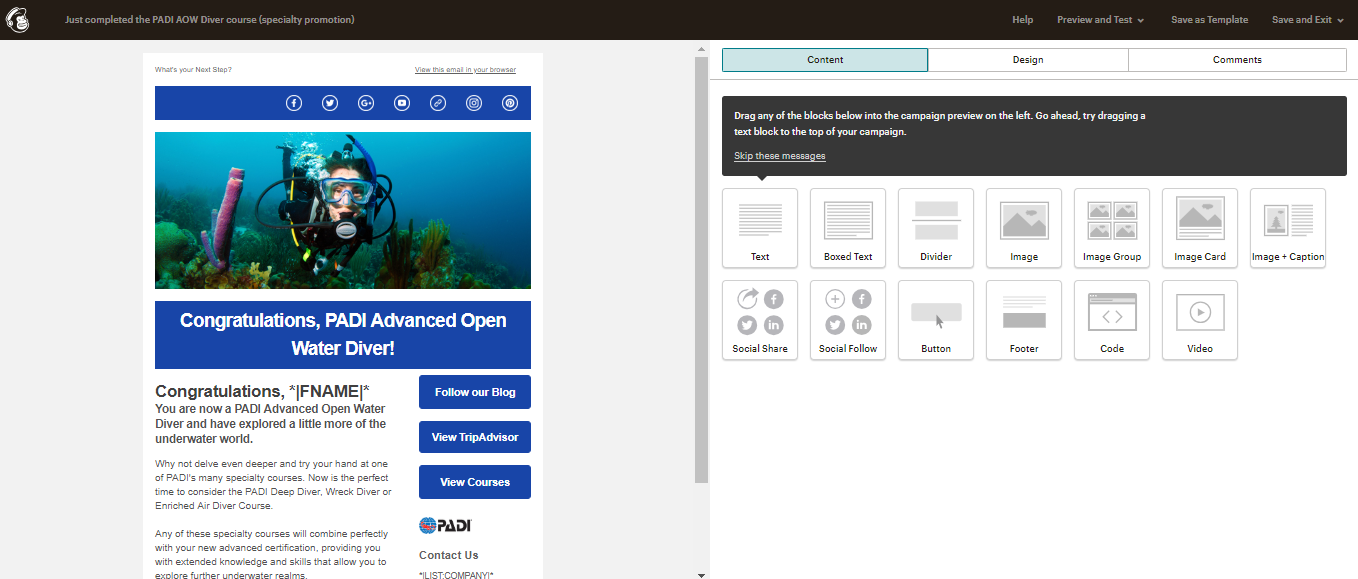
The next page allows you to make any changes to the saved template. You can edit any of the picture or text blocks by simply clicking on them:
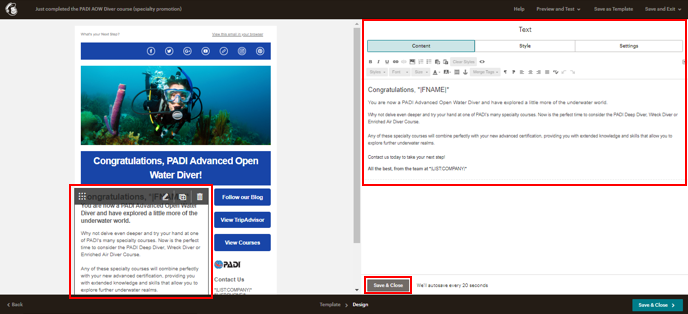
When you click into a block you wish to edit it will be bring up and editing window. Click the ‘Save & Close’ button to save any changes you have made to the template:
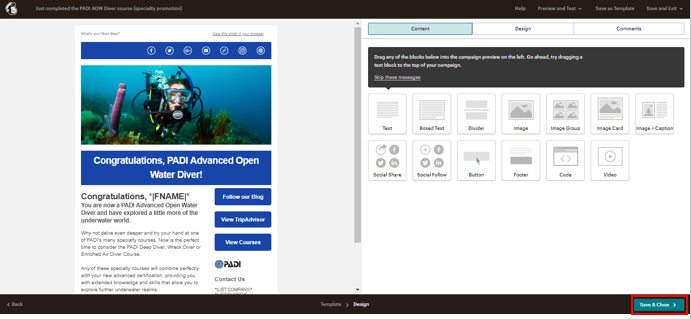
Once you are happy with the email template, click the ‘Save & Close’ button in the bottom right hand corner:
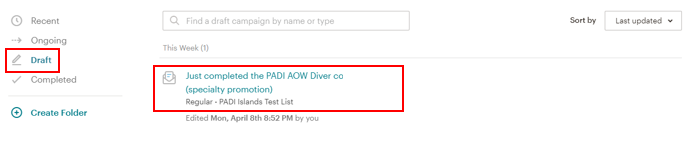
You are then taken back to the ‘Let’s get started! Draft email’ page. Here you must click the ‘Finish later’ link to save this ‘Campaign’ into your MailChimp ‘Draft’ campaign folder. From this folder, your EVE Agent is able to find it and you will have the ability to send an effective email marketing campaign automatically at the preferred time of day you choose, carrying out the task reliably, effectively time and again.
The EVE Agent will identify the customer(s) based upon an event in your EVE database and send this focused and personalised communication based upon the patterns you set with the immediate calls to action built into the email template.
The final step in the process is to use an existing an EVE Agent job or create a new one and link it to the draft campaign. To learn how to do this, click the ‘How to link your Job in the EVE Agent to Your MailChimp Campaign’ lesson link.