Tabs – Component
Learning Outcome
On successful completion of this lesson, students will understand how to set up and use the ‘Tabs’ function.
Lesson
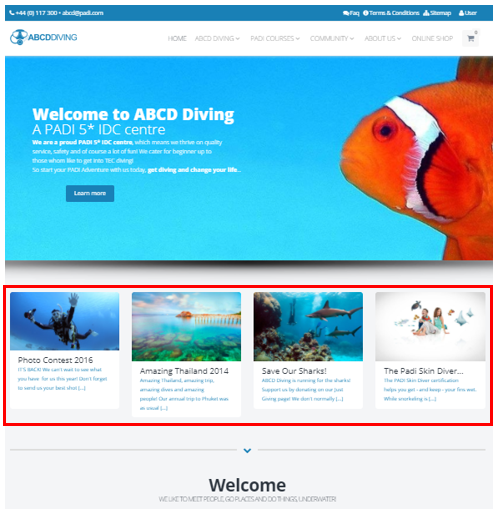
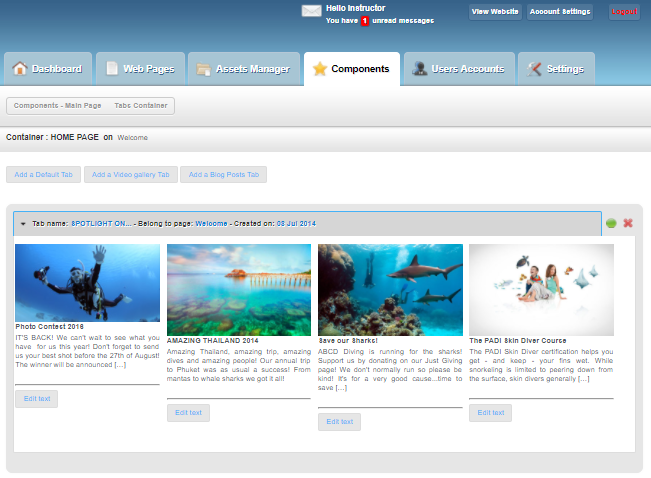
An Eve website offers the function of being able to create a container with a series of tabs. The example below is of a container with a series of 4 tabs that appears underneath the slider on the home page:
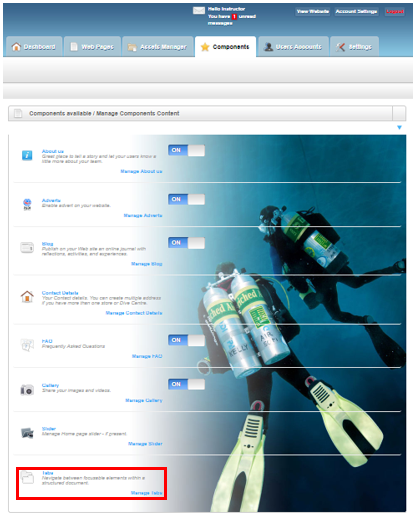
Tabs are managed from the ‘Components’ page and to edit, add or delete tabs you need to click the ‘Manage Tabs’ link in the ‘Tabs’ section.
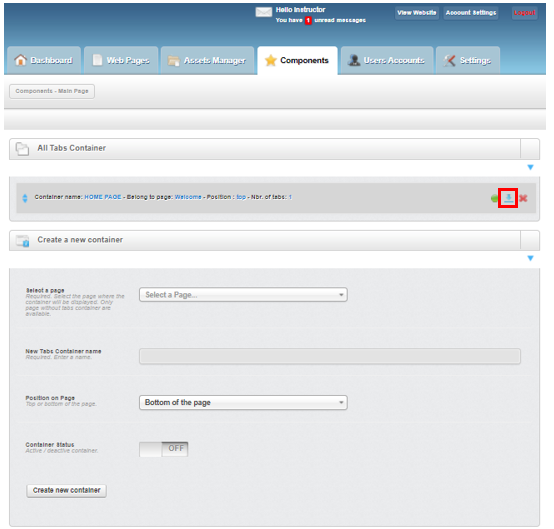
There are 2 sections on the ‘Manage Tabs’ page – ‘All Tabs Container’ and ‘Create a new container’.
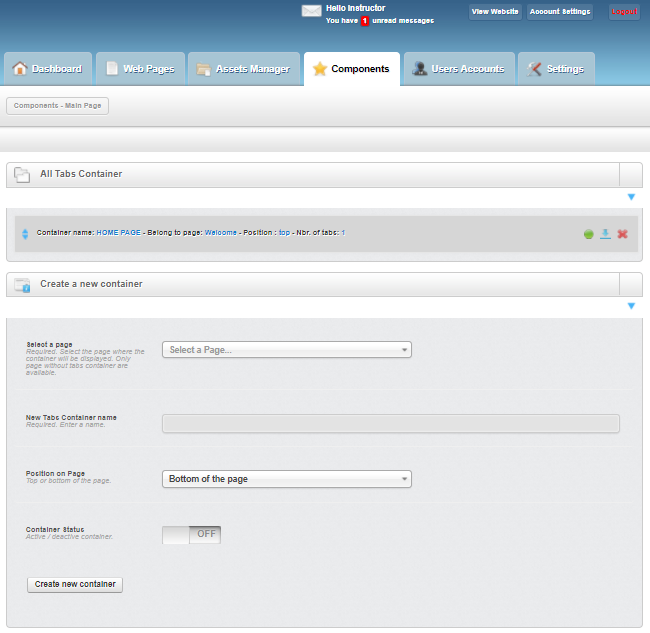
To edit an existing container of tabs click on the ‘Container name: …’ hyperlink:

This brings up the editing page for the tabs container:
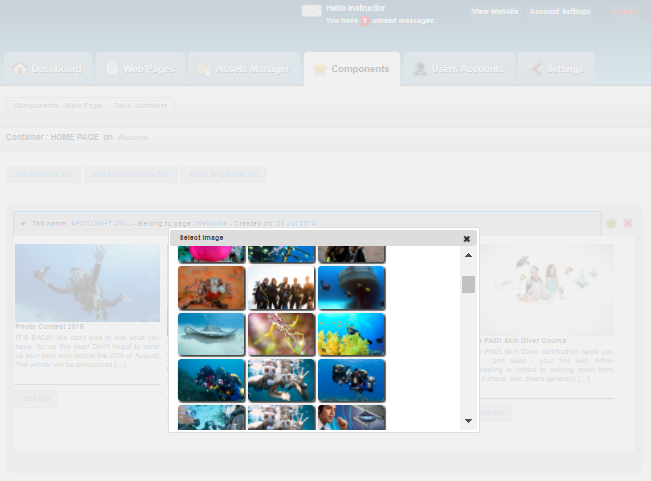
To edit an image in a specific tab click on the image to bring up the ‘Select Image’ window and then double click on the image you wish to use for that tab. For images to be used in tabs, they must be saved by using the Asset Manager and saved into the ‘TABS’ folder.
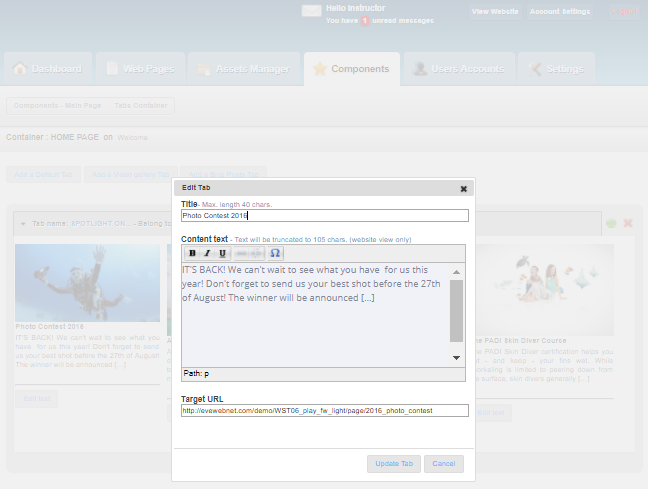
To edit the text of a specific tab click the ‘Edit text’ button and then it is possible to edit the ‘Title’, ‘Content text’ and the ‘Target URL’. It is important to remember that if you have made any changes you click the ‘Update Tab’ button to save and implement your changes.
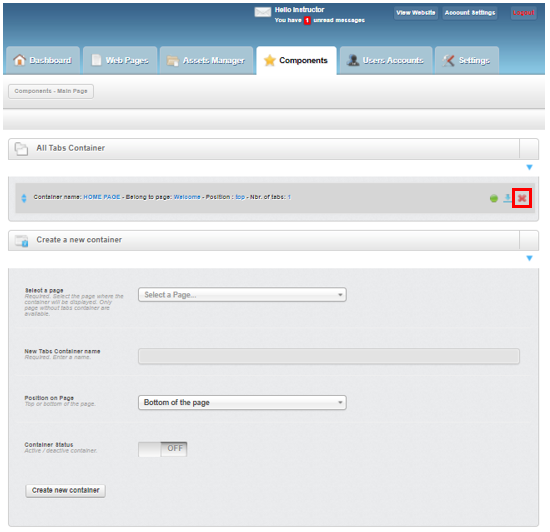
To stop a tabs container from being displayed on a web page click the green icon to change it to a red ‘no entry’ icon and vice versa to show it again.
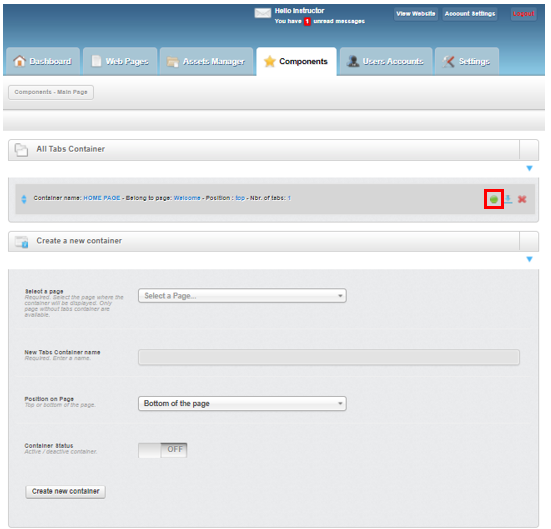
To change the position of the tabs container click the ‘Swap Position on Page’ icon to change from ‘top’ to ‘bottom’ or vice versa.
To permanently delete a tabs container click the ‘Delete’ icon but be aware this action cannot be undone.
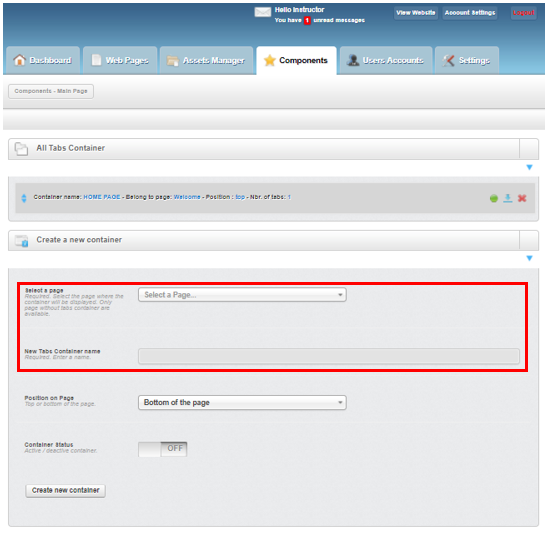
Creating new tabs
The ‘Create a new container’ section is used to create new tabs. First you must choose the page of the website where you want the new tabs container to appear using the ‘Select a page’ drop down box and then give a name to the tabs container.
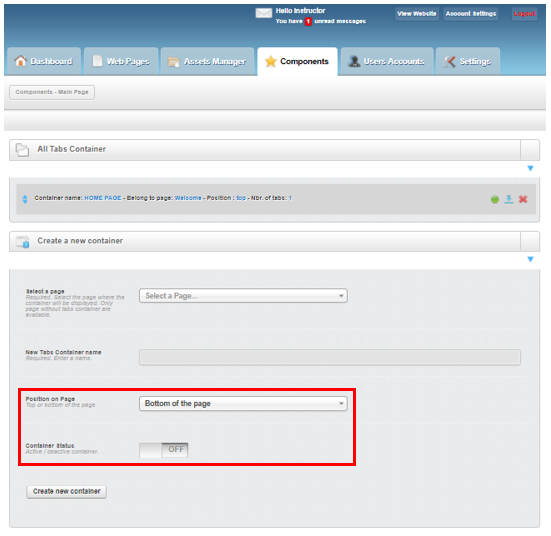
Next you must decide where on the page you want the new tabs to appear using the ‘Position on Page’. If you want the tabs container to be immediately visible (published) by turning the ‘Container Status’ to ‘ON’ or leaving it in the ‘OFF’ mode so the new tabs container is not visible (unpublished) until you have had time to edit them.
It is important to remember that if you have made any changes you click the ‘Update Tab’ button to save and implement your changes.
Next you will have to decide what type of tabs you want in your newly created tabs container. Go back to the ‘All Tabs Container’ and click on the hyperlink of your newly created container.

You then have the option of creating:
- a default tab (4 tabs with images/titles/text/hyperlinks)
- a video gallery tab
- a blog posts tab (show the last 4 blog posts from a specific category)
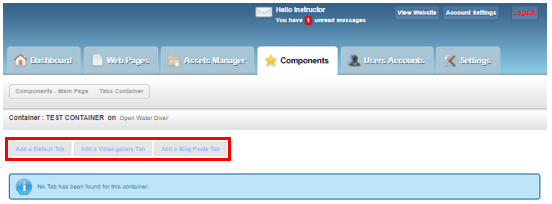
To choose a default tab click ‘Add a Default Tab’ button and this will open ‘Create a new Default Tab’ window where you must enter the title of the new tab and then click the ‘Add a Default Tab’ button.
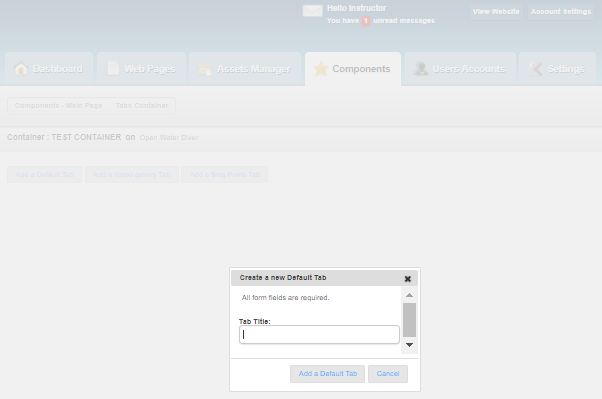
This will create 4 ‘Dummy Title’ tabs which can then be edited as before.

To create a new video tabs container click the ‘Add a Video gallery Tab’ button and this will open the ‘Create a new Video Tab’. Enter the ‘Tab Title’, add in the URL for video in ‘YouTube ID’ box and select the ‘YouTube Type’. Click the ‘Add a Video Tab’ button to to save and implement the changes.

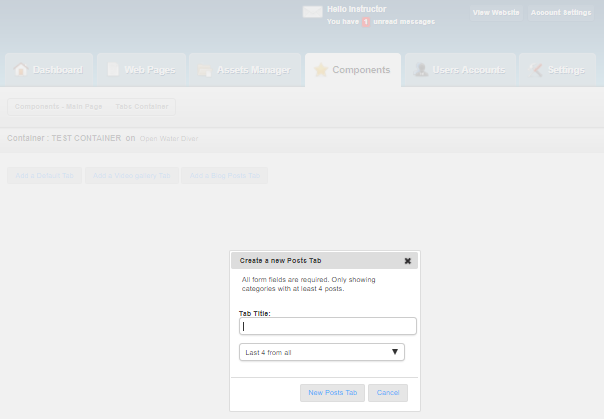
To create a tabs container which displays the last 4 blog posts from click the ‘Add a Blog Posts Tab’ button and this will open the ‘Create a New Posts Tab’ window. Enter the ‘Tab Title’ and then select the blog post category you want to be displayed. Click the ‘New Posts Tab’ button to to save and implement the changes.