The ‘Assets Manager’ tab of the CMS
Learning Outcome
On successful completion of this lesson, students will understand the function of the ‘Assets Manager’ tab of the CMS.
Lesson
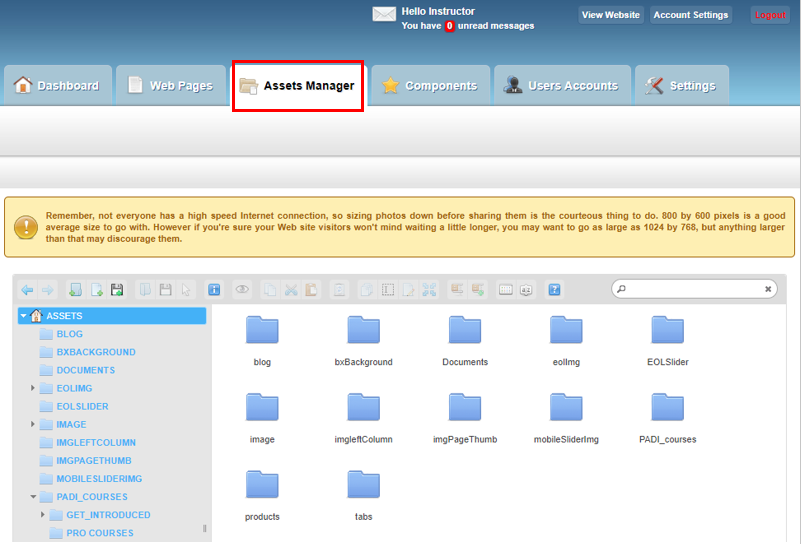
To access the ‘Assets Manager’ page click on the ‘Assets Manager’ tab on the CMS dashboard.
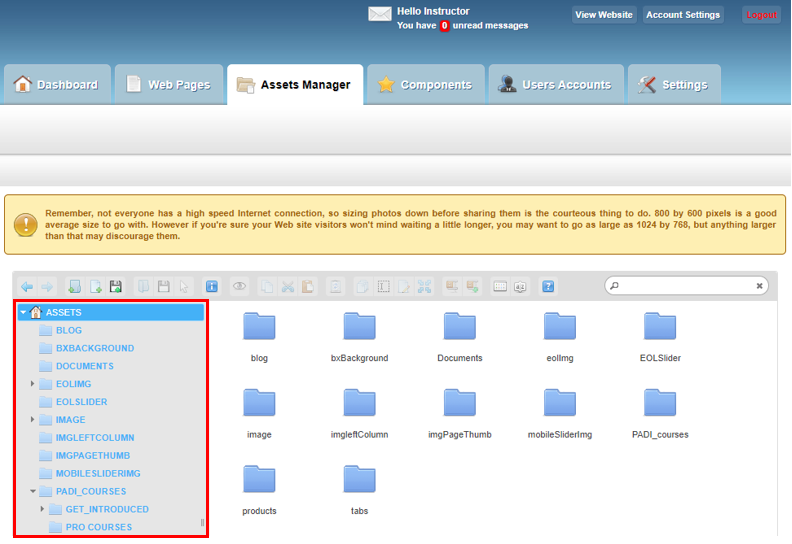
The layout and function of the Assets Manager is similar to Windows Explorer. The Assets Manager is where images and documents you want to use in your website need to be loaded.
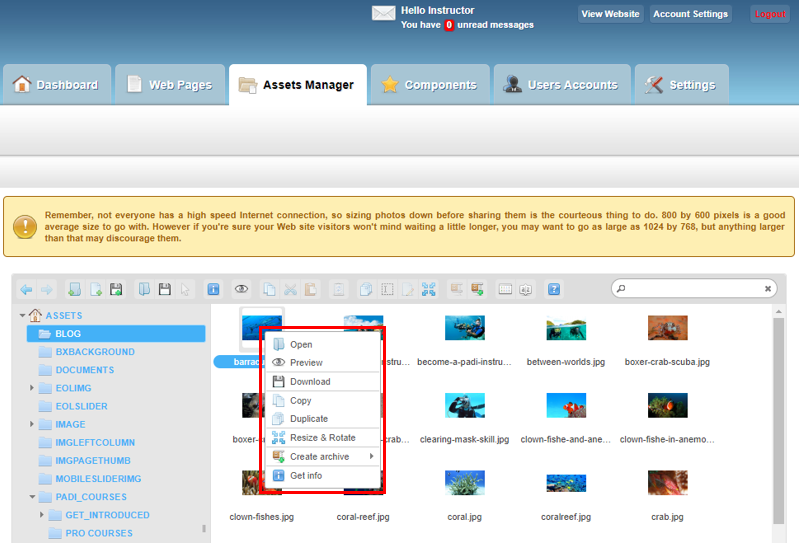
The Assets Manager page has an orange information box with information about the size of the images to upload.
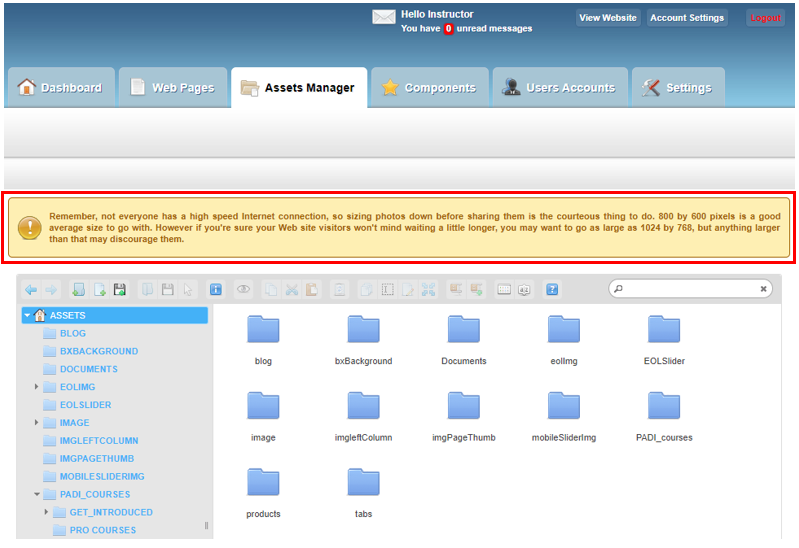
“Remember, not everyone has a high speed Internet connection, so sizing photos down before sharing them is the courteous thing to do. 800 by 600 pixels is a good average size to go with. However if you’re sure your website visitors won’t mind waiting a little longer, you may want to go as large as 1024 by 768, but anything larger than that may discourage them.”
If you upload an 800 by 600 pixel picture the website will automatically resize the picture if it is to be used as thumbnail image.
Uploading new images
It is important to load images and documents into the correct folder in Assets Manager.
For example if you wanted to an image to appear in the as a thumbnail that image must be saved in the ‘IMAGEPAGETHUMB’ folder. If the image is to appear in the main body of the page it must be saved in the ‘Image’ folder.
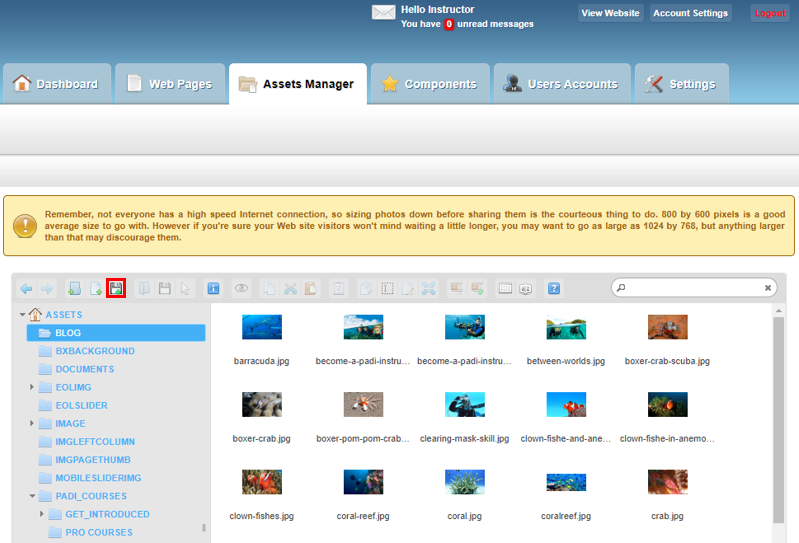
To upload an image, go to the folder you wish the image to be saved in and click ‘Upload files’ icon, select the image and click ‘Open’. The image will then be saved to the appropriate folder.
If you right click on a specific image a window will appear and give you different options such as renaming, previewing, downloading or resizing and rotating the image.
Remember to include keywords when naming an image to improve the SEO for your website page.