This procedure will guide you trough the steps required to map your network drive on your PC running Windows 8 or Windows 8.1. Before you start the procedure, please make sure your VPN is running
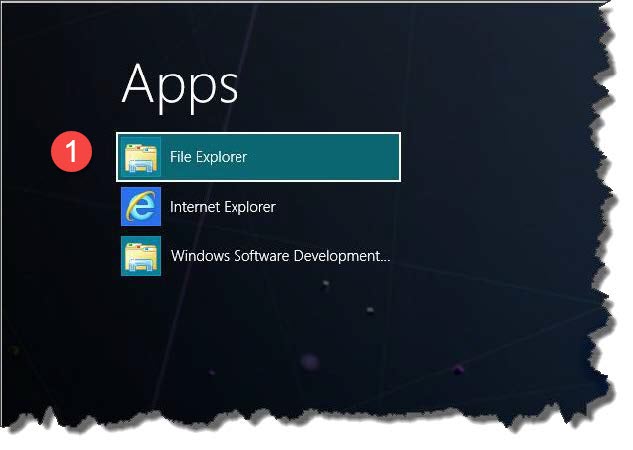
1) On your Windows Start screen, type Explorer and then click File Explorer.
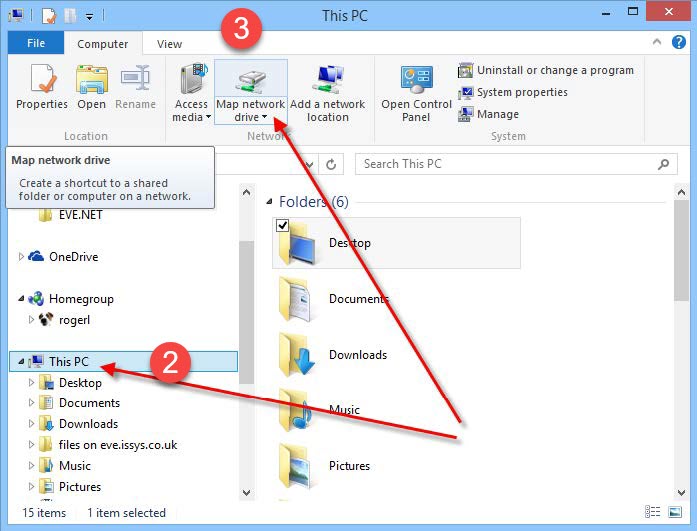
2) Make sure This PC is highlighed and click ”Map network drive” at the top.
3) When Computer starts, click ‘Map network drive’ at the top.
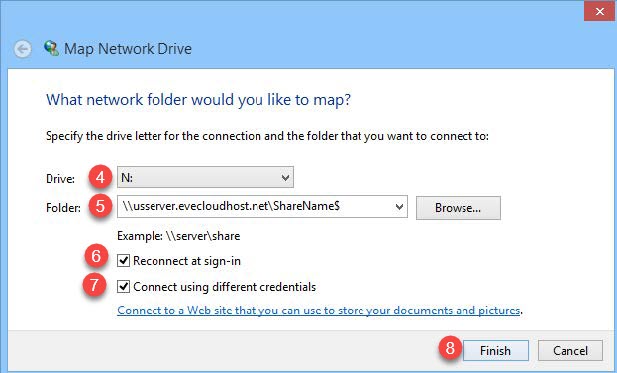
4) In the Drive picklist, choose N: if that is available. Otherwise, choose an available drive letter.
5) In the Folder box type:
- if you are located in the Americas, enter \\usserver.evecloudhost.net\ShareName$
- if you are located in Europe, Middle East or Africa, enter \\ukserver.evecloudhost.net\ShareName$
- if you located in Asia Pacific, enter \\auserver.evecloudhost.net\ShareName$
and replace ShareName$ with the name provided by EVE Diving team
6) Make sure Reconnect at sign-in is ticked
7) Make sure Connect using different credentials is ticked
8) Click Finish
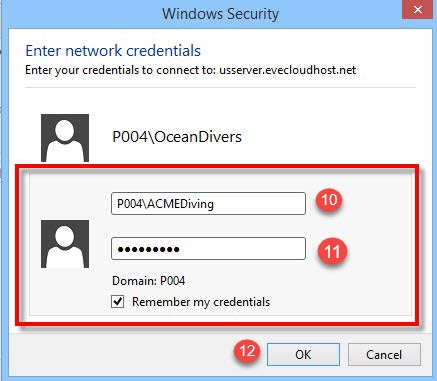
11) Click on Use another account
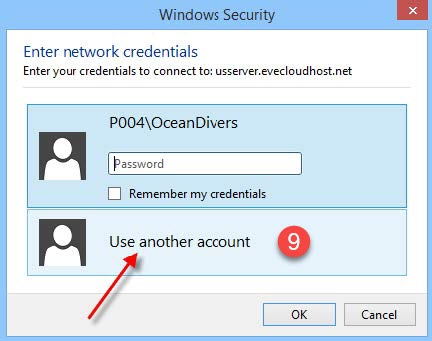
10) Enter the username we provided to you. This will be of the form: P004\Username
11) Enter the password we provided to you
12) Click OK
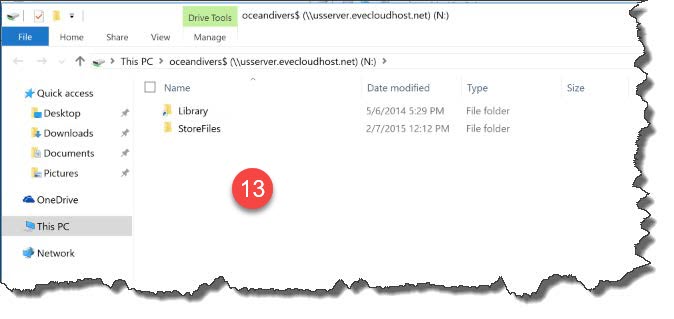
13) You’ll now have a drive mapping that contains Library and StoreFiles folders. Library is read-only and contains some standard images and documents that you can reference. StoreFiles is your own area where you can copy files such as product images and waivers and releases, etc.
Comments are closed.