The ‘Settings’ tab of the CMS
Learning Outcome
On successful completion of this lesson, students will understand the function of the ‘Settings’ tab of the CMS.
Lesson
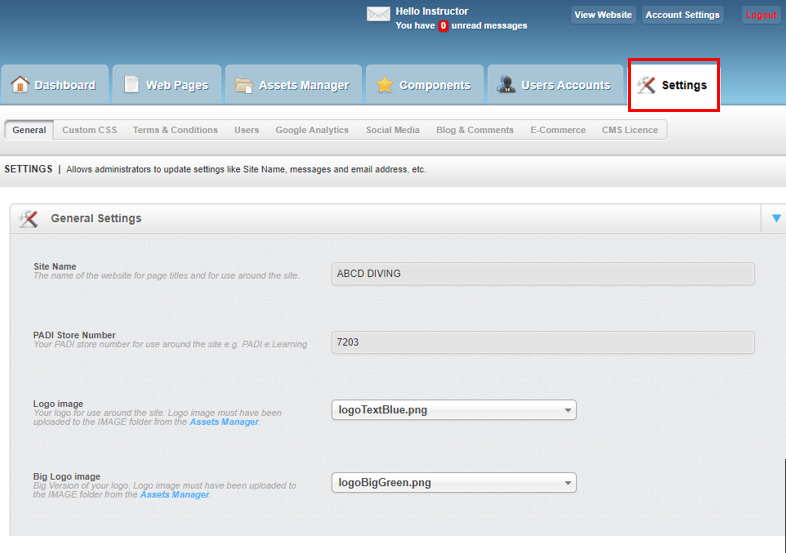
If you click on the ‘Settings’ tab you will see that there are 9 areas:
- General
- Custom CSS
- Terms & Conditions
- Users
- Google Analytics
- Social Media
- Blog & Comments
- E-Commerce
- CMS License
- General
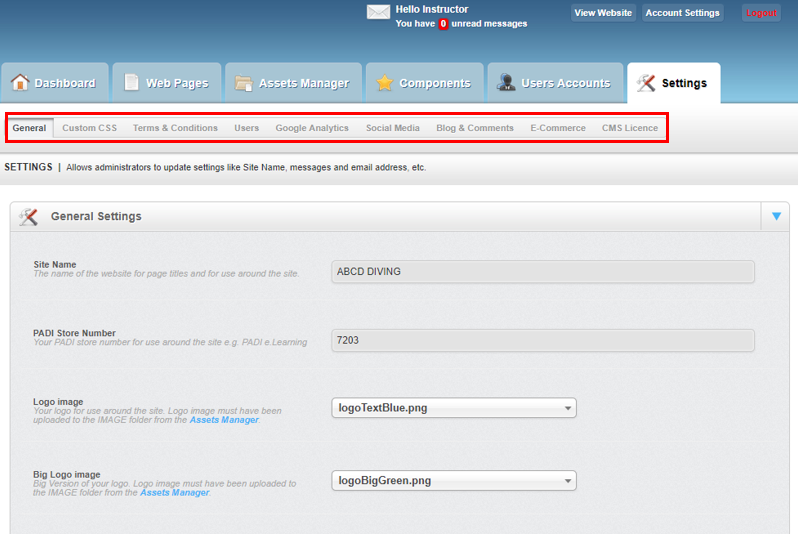
General
If you click on the ‘General’ area link in ‘Settings’ tab you will see the ‘Site Name’, ‘PADI Store Number’, and the ‘Language’ used on the website.
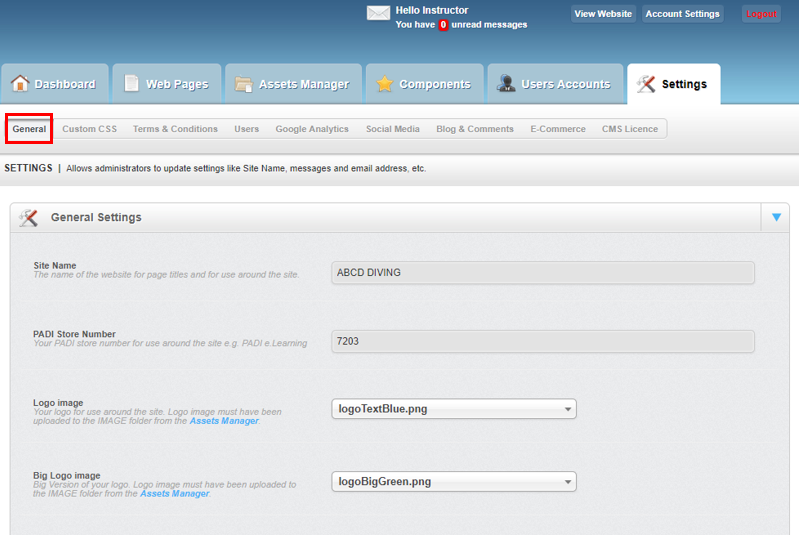
This is also the area where the choice of logos, icons and background image used on the website can be changed.
Finally the options below can be changed in this area:
- Site status (this option is used to turn the user-facing part of the site on or off when you want to take the site down for maintenance)
- Unavailable message (the message show to users when the site is turned off or there is a major problem)
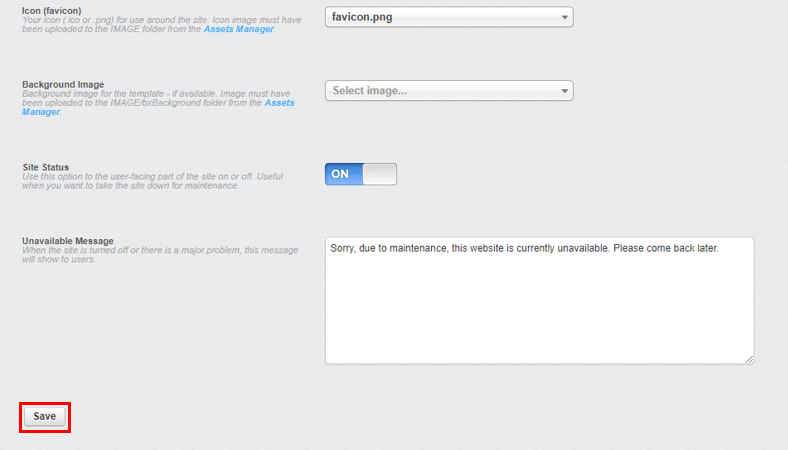
It is important to remember that if you have made any changes to the ‘General’ area of the ‘Settings’ tab you must scroll to the bottom of the page and then click the ‘Save’ button to save and implement your changes.
Custom CSS

To access this area click on the ‘Custom CSS’ area link in the ‘Settings’ tab and you will notice that the ‘Custom CSS’ area contains an important message at the top.
“Adding CSS code is an advanced modification. We highly recommend that you have solid coding knowledge before attempting to use the CSS Editor. ISSYS Customer Support doesn’t offer assistance or troubleshooting for CSS modifications.”
This page should not be modified unless you know exactly what you are doing. If you have large changes that you would like to make to your website please contact support@evediving.com who will generate the correct code to place into this area.
It is important to remember that if you have made any changes to the ‘Custom CSS’ area of the ‘Settings’ tab you must scroll to the bottom of the page and then click the ‘Save’ button to save and implement your changes.
Terms & Conditions
Terms and conditions is an area on the website that you can have in various places. The terms and conditions are for the general use of the website and can be manually typed or copied and pasted into the text box in this area.
To access this area click on the ‘Terms & Conditions’ area link in the ‘Settings’ tab.
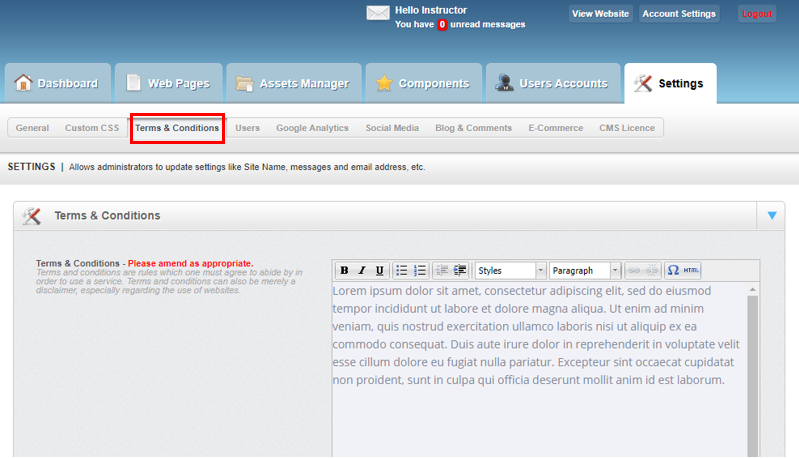
Once you have added the text for your terms and conditions you can then make them active on the site by changing ‘Terms & Condition Status’ button from ‘OFF’ to ‘ON’.

It is important to remember that if you have made any changes to the ‘Terms & Conditions’ area of the ‘Settings’ tab you must scroll to the bottom of the page and then click the ‘Save’ button to save and implement your changes.
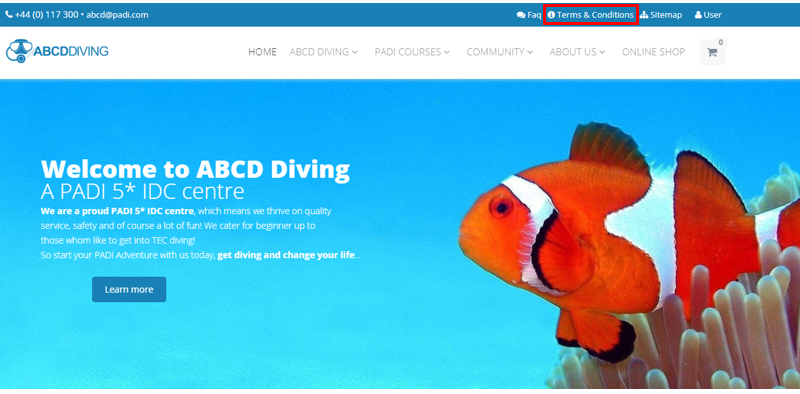
The terms and conditions can then be viewed on your website by clicking on the ‘Terms & Conditions’ link.
Users
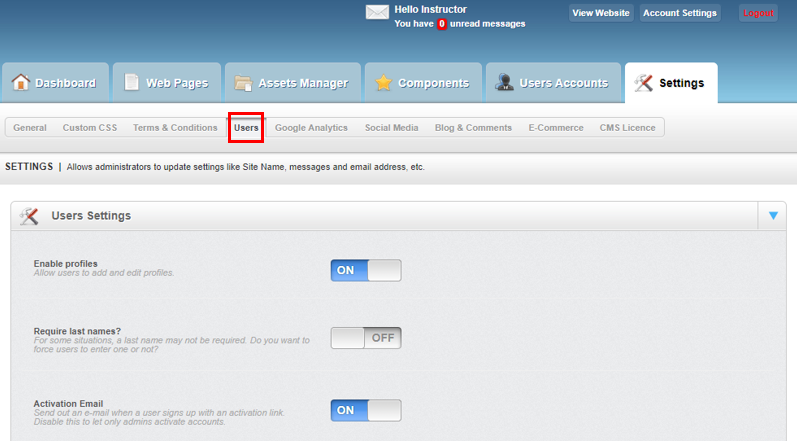
To access this area click on the ‘Users’ area link in the ‘Settings’ tab. This area is for how do you want to create new users i.e. do you want customers to be able to be able to register as ‘Users’ of your website.
There are two types of ‘Users’ – ‘Administrators’ and ‘Users’. Administrators are people who can make changes to your web pages and website. You can make it a requirement that only registered ‘Users’ can post comments on your blog articles.
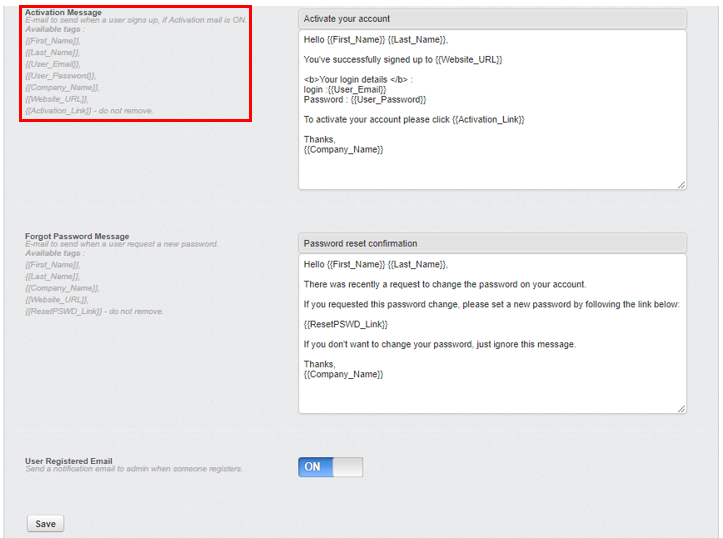
In this area you can change the ‘Activation Message’ and ‘Forgot Password Message’ a new ‘User’ receives when they register with the website for the first time. You will see the available tags which are optional and can be used in this message. Be careful to only use the {{Last_Name}}, tag if you have turned on the ‘Require last names?’ option.
You also have the option for the CMS system to send an email to the ‘Administrators’ when a new ‘User’ is registered by turning the ‘User Registered Email’ option to ‘On’.
It is important to remember that if you have made any changes to the ‘Users’ area of the ‘Settings’ tab you must scroll to the bottom of the page and then click the ‘Save’ button to save and implement your changes.
Google Analytics
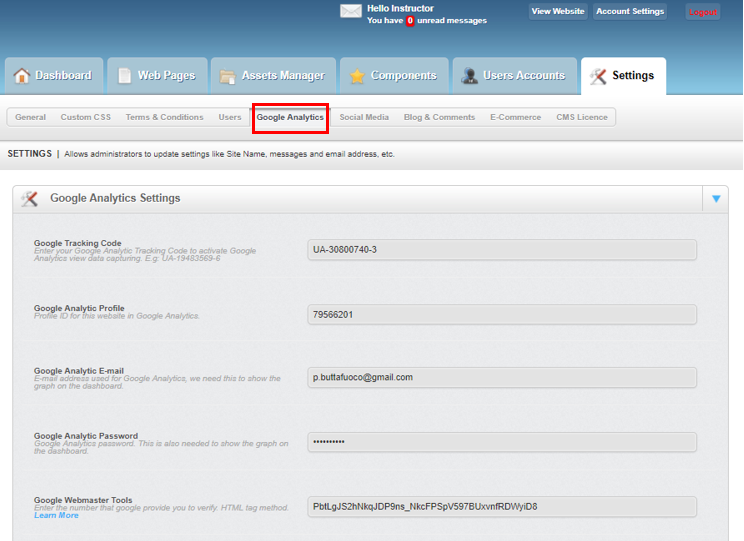
To access this area click on the ‘Google Analytics’ area link in the ‘Settings’ tab. The information in this area was taken from the ‘website creator’ form given to the EVE Diving team to generate the website and is used to provide the analytics data in the ‘Dashboard’ tab.
Do not change the information that is entered in this area.
Social Media
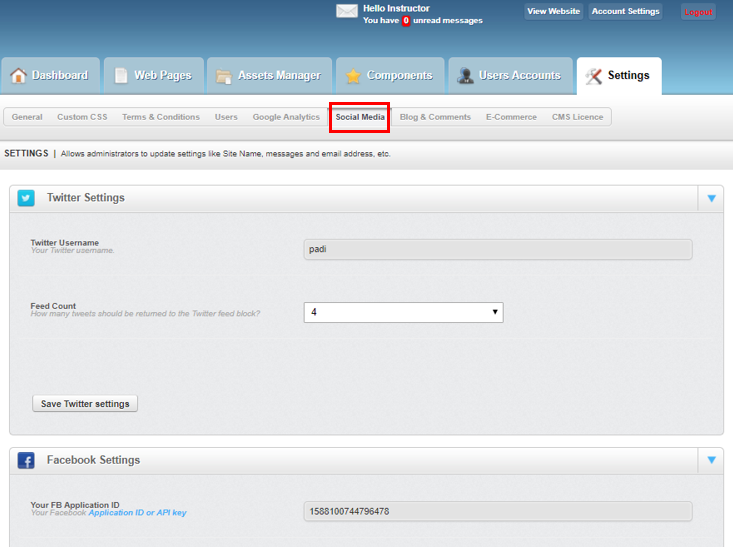
To access this area click on the ‘Social Media’ area link in the ‘Settings’ tab. The ‘website creator’ form will have requested the different business social media profiles and this will information will have be displayed on this page. If the business deletes or creates new social media profiles this is the place to make those changes.

It is important to remember that if you have made any changes to a social media profile in the ‘Social Media’ area of the ‘Settings’ tab you must scroll to the bottom of that specific social media profile and then click the ‘Save X settings’ button to save and implement your changes.
Blog & Comments
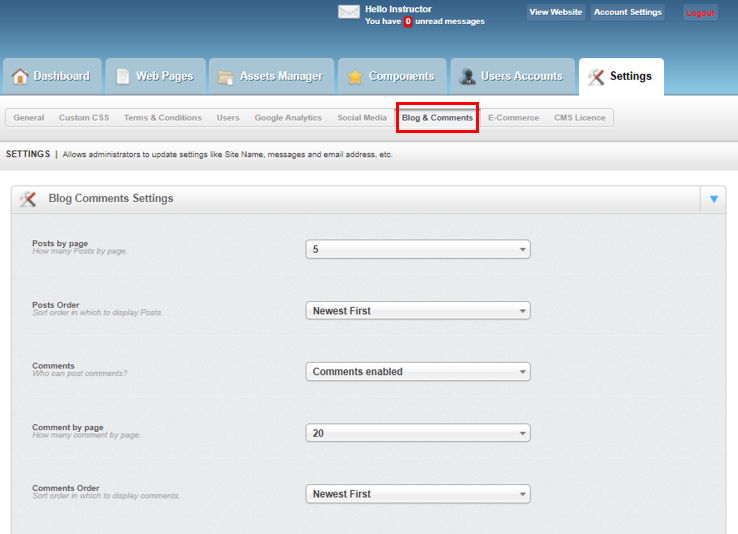
To access this area click on the ‘Blog & Comments’ area link in the ‘Settings’ tab. This area is responsible for setting:
- How many blog posts appear per page
- What order the posts appear in
- Enable comments
- How many blog comments appear (if comments are enabled)
- Order of blog comments (if comments are enable)
It is important to remember that if you have made any changes to the ‘Blog & Comments’ area of the ‘Settings’ tab you must scroll to the bottom of the page and then click the ‘Save’ button to save and implement your changes.
E-Commerce
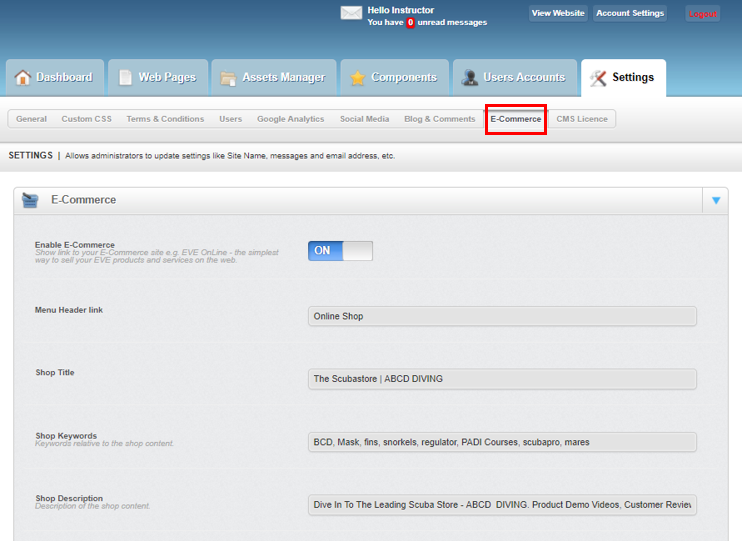
To access this area click on the ‘E-Commerce’ area link in the ‘Settings’ tab. If your business has purchased EVE Online then the ‘Enable E-Commerce’ option will be switched ‘ON’.
The ‘Menu Header link’ is the text that appears in the website navigation menu.
The other settings found in this area (such as server address and database name etc.) are completed by the EVE Diving support team and should not be changed.
It is important to remember that if you have made any changes to the ‘E-Commerce’ area of the ‘Settings’ tab you must scroll to the bottom of the page and then click the ‘Save’ button to save and implement your changes.
CMS License
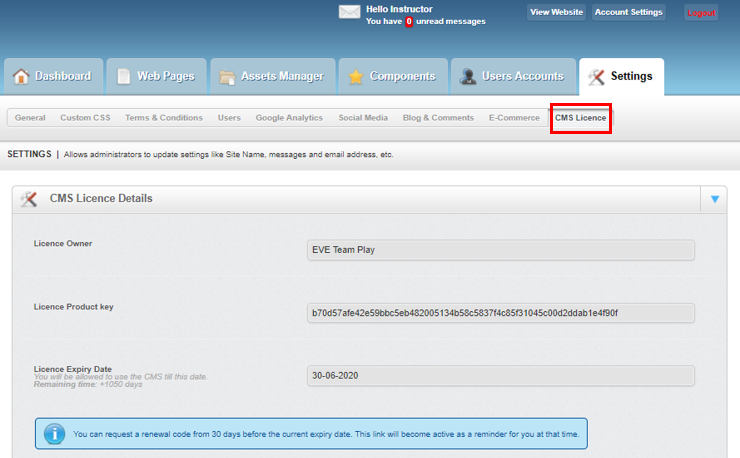
To access this area click on the ‘CMS License’ area link in the ‘Settings’ tab. This area contains information about your CMS Licence and the license expiry date.
At the bottom of this area a link will appear 30 days before your CMS license expires so that you can request a renewal code.