Rental Bookings
Learning Outcome
On successful completion of this lesson, students will understand how to create a new rental booking, to use a customer profile/favorites to generate a rental booking and how to complete a rental booking.
Lesson
Creating a New Rental Booking
- In the Rentals screen, click on Rental Bookings ‘New’.
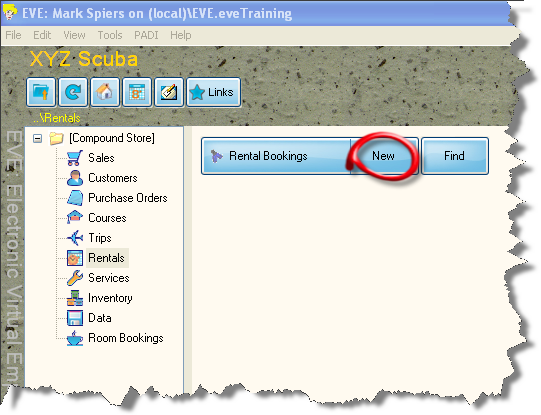
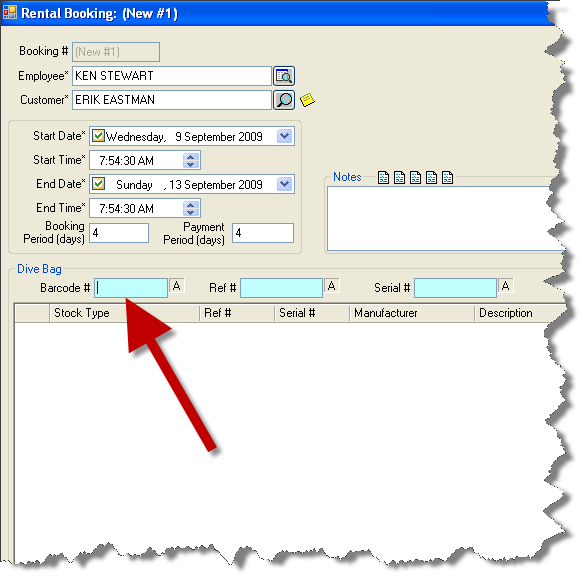
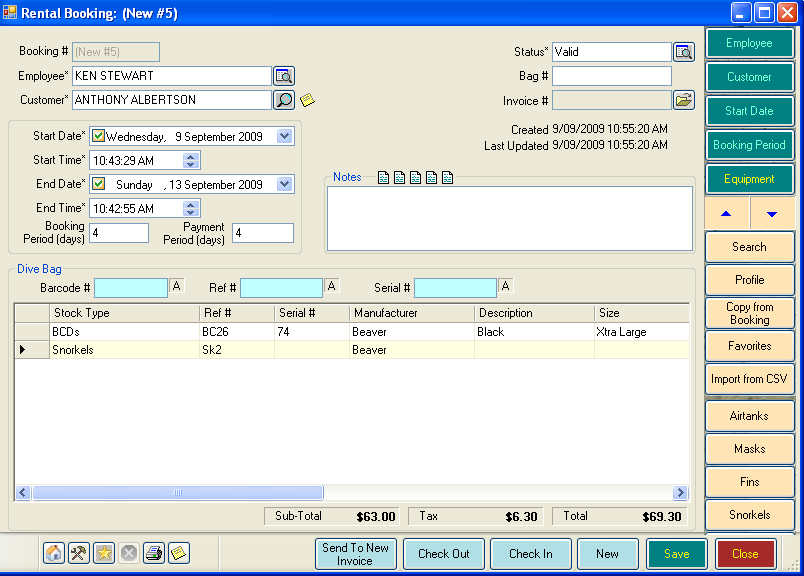
- The Rental Bookings box will open.
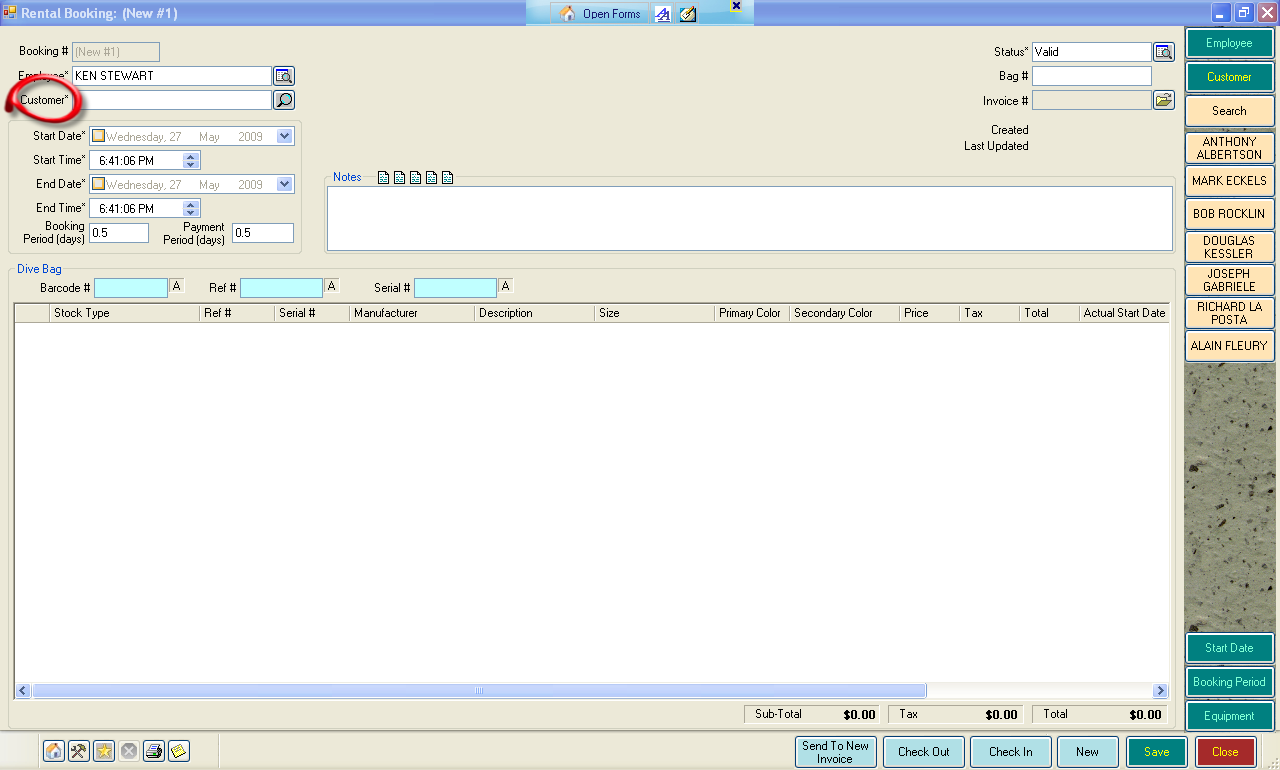
- The cursor is already in the ‘Customer’ box. Click on the icon to the right to open up the Customer Search box.
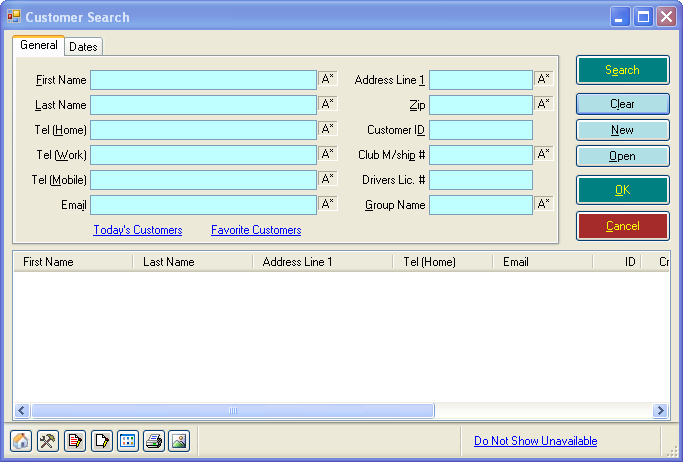
- Here you can search for existing customers or create a new customer.
- Once you have entered a customer name and have returned to the Rental Bookings screen, you will notice that the Cool Bar on the right-hand side of the screen has changed to the start date of the booking.
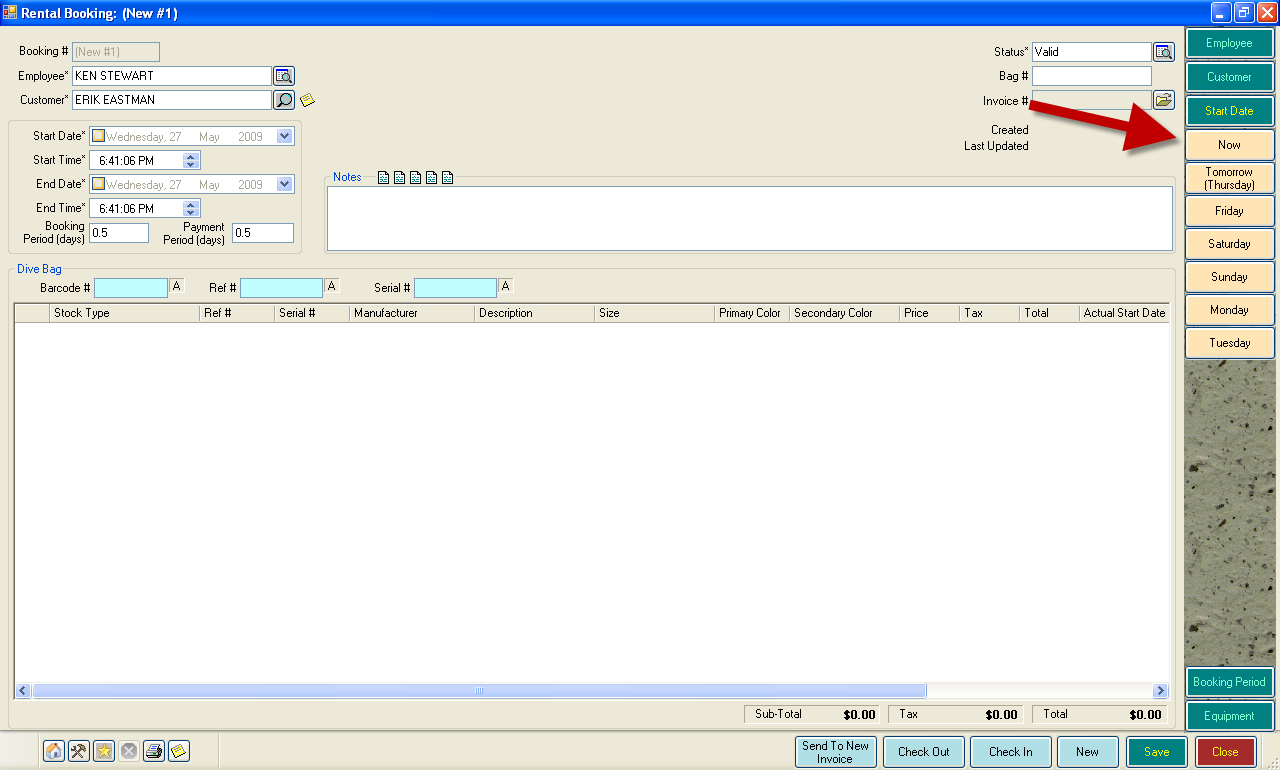
- Select the start date of the booking

- The Cool Bar will change so that you can enter the booking period (1 day, 2 day, etc.)

- The Cool Bar will now change to allow you to enter the equipment being rented.

- The most commonly rented items are listed (Airtanks, Masks, Fins etc.). You can also use the Search function to look for items not listed.
- Alternatively you can use barcodes to scan items in directly. To do this you will of course need to tag and bar code each equipment rental item. The cursor automatically sits in the Barcode # field, ready to receive input from a barcode scanner.
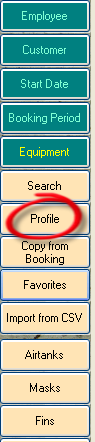
- If you are not using barcodes, you can use any of the following to receive the booking.
- Profile
- Copy from a booking
- Favourites
- Let’s have a look at each one in more detail.
Using Profile for a New Rental Booking
- Click on the Profile button.
- The Profile window will open.
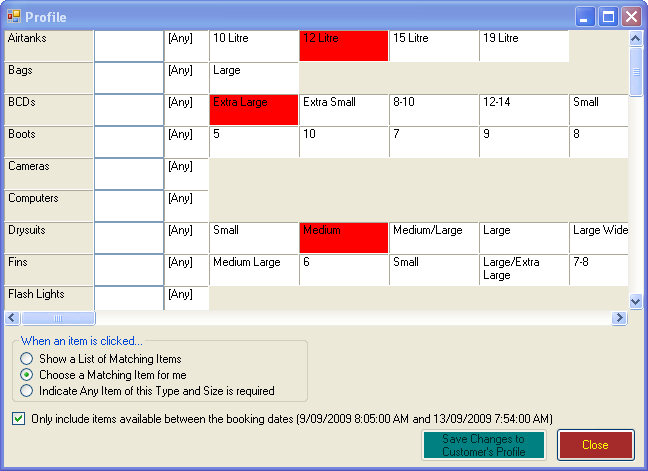
- If the Customer has previously rented items, these will identified by a red coloured box.
- To add items to the rental booking, simply click on the items required. As you do so, the box will turn to a blue colour to indicate that they have been selected.
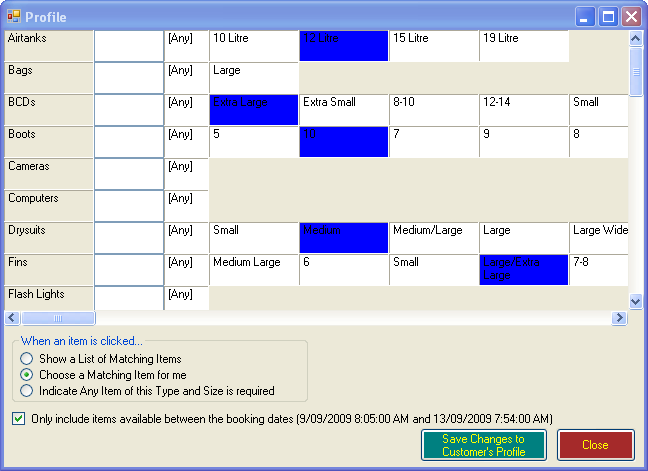
- This makes taking a booking extremely easy, particularly for telephone bookings.
- Once you have finished, click on the ‘Close’ button
- You will be asked if you want to save the booking to the Customers Profile.
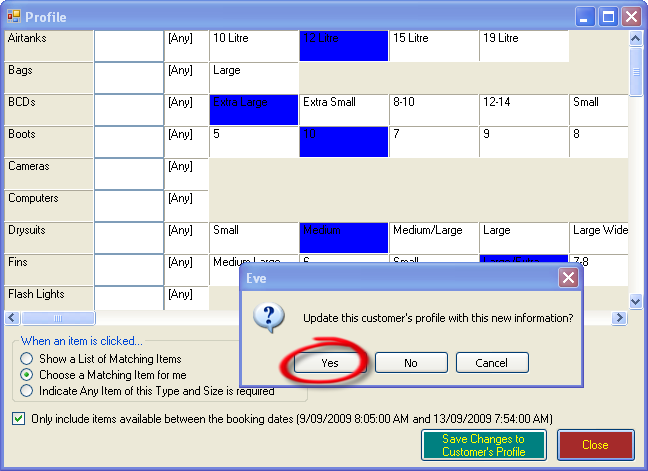
- Click ‘Yes’ if you want to update it.
- The items selected will now be displayed in the Rental Booking
- Go to the ‘Completing a New Rental Booking’ section to finish the booking
Copying from a Previous Rental Booking
If the Customer has previously rented equipment from your store, you can simply copy the booking. This is ideal if the customer wants to rent exactly the same items, or at least the majority of them.
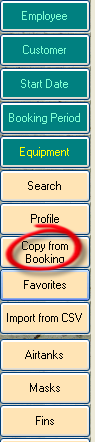
- Click on the ‘Copy From Booking’ button.
- The ‘Copy Booking Items’ box will open and will display a list of all the Customers previous bookings.

- Select the booking you want to copy by clicking on it and click ‘Add Items’
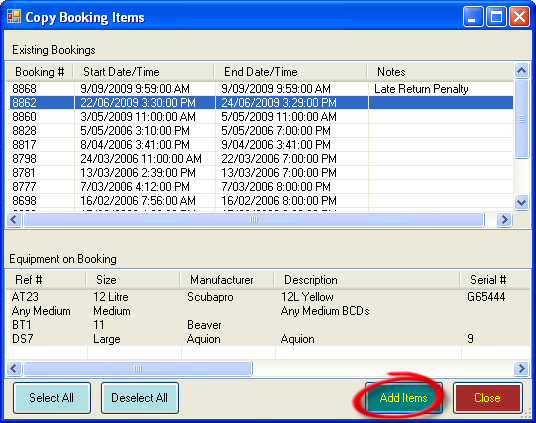
- The items will be added to the booking

- Go to the ‘Completing a New Rental Booking’ section to finish the booking.
Using Favorites for a Rental Booking
If the Customer has Favorite items saved against their Customer Profile, you can add these directly to a Rental booking.
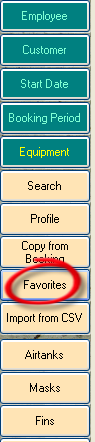
- Click on the ‘Favorites’ button.
- The ‘Favorites’ box will open
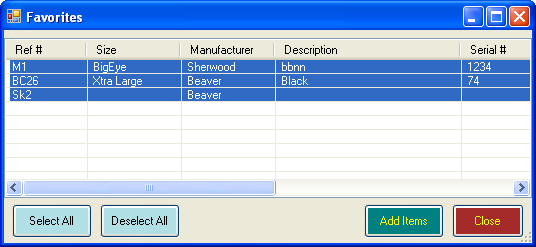
- Select the items you want to add and click the ‘Add Items’ box. The items will be added to the booking.
- Go to the ‘Completing a New Rental Booking’ section to finish the booking.
Completing a New Rental Booking
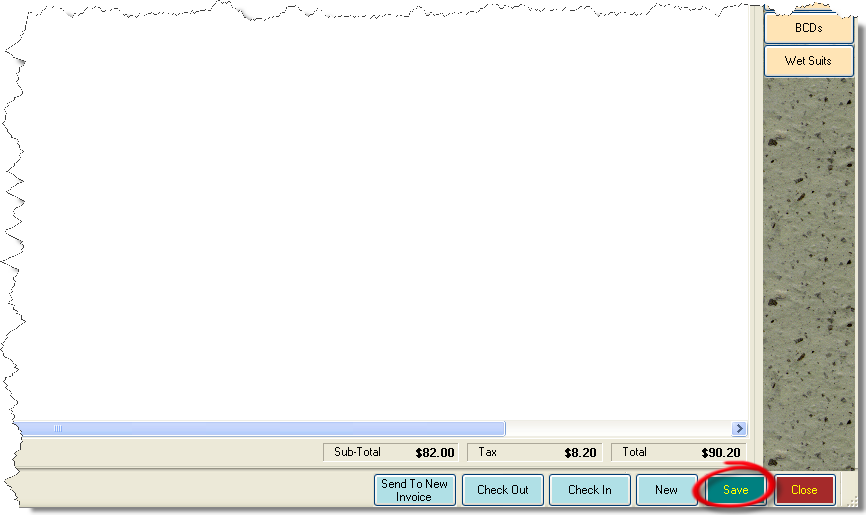
- Whichever method you use to input the booking, once you have added all the items for the rental click on the ‘Save’ button.
- The ‘Print Rental Booking’ box will open.
- Click ‘OK’ and a Rental Agreement, listing all the items rented, will be printed. You can also email it direct to the customer.

- After you have printed the Agreement, you will be asked if you want to ‘Check Out all items for this booking’?
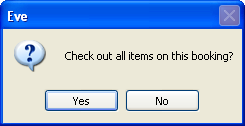
- If the Customer is taking the items now, click ‘Yes’. If this is for a future booking, Click No – you will check out the items when the customer collects them.
- In this example we will check out the items now, so click ‘Yes’.
- EVE confirms that the items have been checked out
- Click OK