Scheduling Day Trips in Calendar
Learning Outcome
On successful completion of this lesson, students will understand how to add the following to the EVE calendar:
- Schedule new trips
- Schedule recurring trips
- Add new boats for trips
- Add new destinations for trips
Lesson
Adding a New Day Trip
- In Calendar, place the mouse cursor over the date you want to schedule the day trip and right-click
- From the menu select ‘New Day Trip’
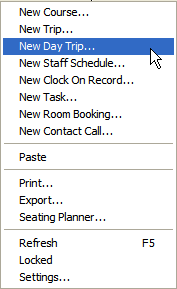
- The New Day Trip dialog box will appear
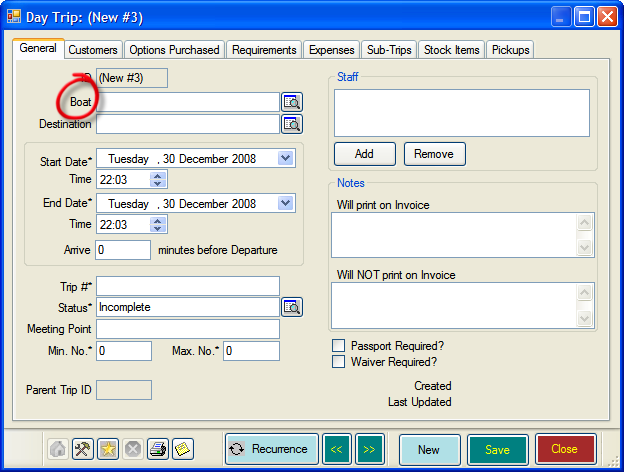
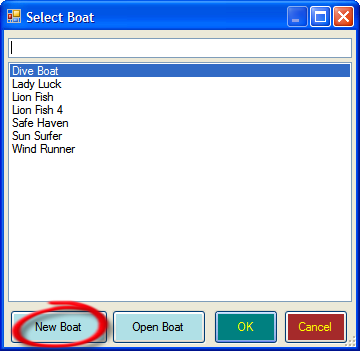
- Click on the button to the right of ‘Boat’ to select the name of your boat. The ‘Select Boat’ dialogue box will open.
- If your Boat has already been added, simply double-click on it to add it. You can skip to Step 5 now.
- If this is the first time you have set up a Day Trip, you will need to add your boat details. Follow the “Adding a New Boat for a Day Trip” section to do this.
- In the ‘Day Trip’ box click to the right of ‘Destination’. The ‘Select Destination’ box will open.
- If your Destination is already listed, simply double-click on it to add it. You can skip to Step 6 now.
- If you would like to add a new destination, follow the instructions in the “Adding a New Destination for a Day Trip” section.
- Back in the ‘New Day Trip’ box the start date is automatically entered as the date you selected in step 1. You can change it by using the drop down box at the side.
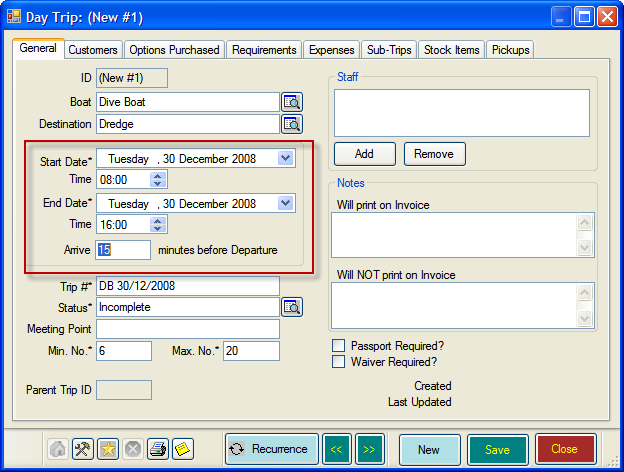
- You can also change the end date too. However, as this is a day trip the end date will normally be the same as the start date.
- Beneath both the ‘Start Date’ and ‘End Date’ you’ll find the ‘Time’ box. Enter the start and end time of your trip here.
- Using the ‘Arrive’ box you can also add the number of minutes before departure that you would like Customers to arrive
- EVE automatically assigns a Day Trip # and the Min & Max student no.’s. You can change these defaults if you wish (more on this in the Customising EVE Section of this guide)

- You can also add a ‘Meeting Point’ if you wish.
- You can add the Staff who will be teaching the Day Trip, by clicking the Add button in the ‘Staff’ pane. You can add new employees in the dialogue box that appears. However, as we are scheduling a recurring Day Trip you will probably want to add these for each individual Day Trip later.
- Click on the ‘Save’ Button.
- Click on the ‘Recurrence’ Button to schedule an entire season of regular Day Trips.
- Use the tabs to select between Daily, Weekly, Monthly and Yearly recurring Day Trips.
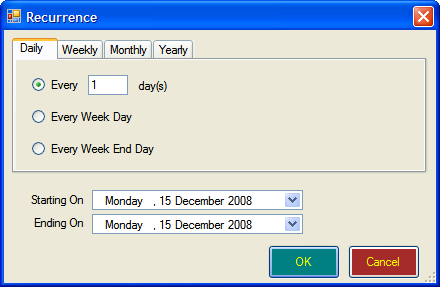
- Select the ‘Starting On’ and ‘Ending On’ dates, depending on how long you wish to schedule a Day Trip for.
- Click OK and the ‘Confirm Recurrence Dates’ box will open. Use the arrow keys to check the dates for each month.

- Click OK to close the ‘Confirm Recurrence Dates’ box.
- Click Save in the ‘New Trip’ dialogue box.
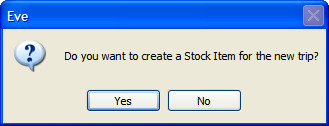
- You will be asked if you want to add this item as a stock item. As you are not yet using EVE for Point of Sale, click ‘No’.
- Click ‘Close’ in the ‘New Trip’ dialogue box.
- You have now added the basic Trip information for an entire season’s Trips. Remember to repeat this for all your scheduled Trips.
Adding a New Boat for a Day Trip or Trip
Follow the instructions below if you need to add a new boat into EVE during the creation of a day trip
- Follow instructions 1 – 4 of “Scheduling Day Trips in Calendar”.
- To do this click on the ‘New Boat’ button
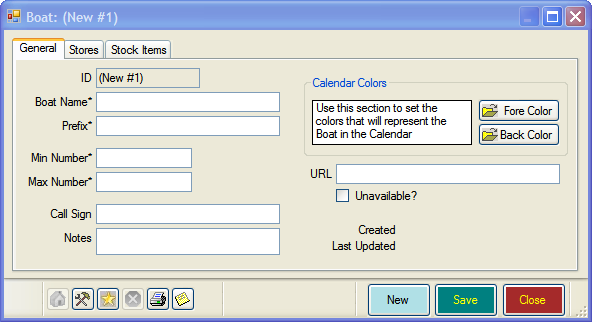
- The ‘New Boat’ dialogue box will open. Here you can add in several pieces of information, some required, some optional:
- Boat Name (Required)
- Prefix (Required)
- Min No. (Required)
- Max No. (Required)
- Call Sign (Optional)
- Notes (Optional)
- URL (Optional)
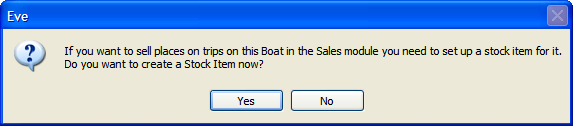
- Once you’ve added your details click the ‘Save’. A dialogue box will open asking if you wish to create a stock item. At this stage we are not using EVE as POS, so click ‘No’.
- You will be returned to the ‘New Boat’ box. Click Close
- The boat you have added will now be highlighted in the ‘Select Boat’ box.
- If you following the steps for “Scheduling Day Trips in Calendar”, continue from step 5.
Adding a New Destination for a Day Trip or Trip
Follow the instructions below if you need to add a new destination into EVE during the creation of a day trip
- Follow instructions 1 – 5 of “Scheduling Day Trips in Calendar” or steps 1 to 4 of “Scheduling Trips (Holidays) in Calendar”
- Click on the ‘New Destination’ button
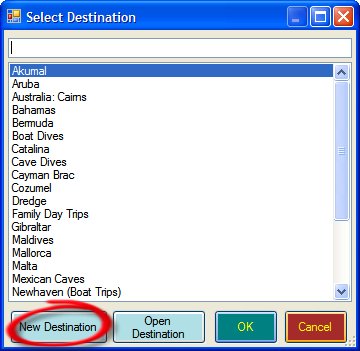
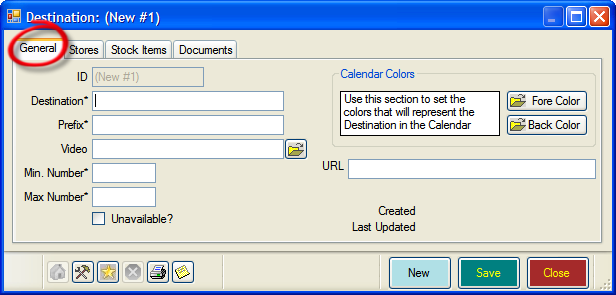
- The ‘New Destination’ dialogue box will open. Here you can add in several pieces of information, some required, some optional:
- Destination (Required)
- Prefix (Required)
- Video (Optional)
- Min No. (Required)
- Max No. (Required)
- URL (Optional)
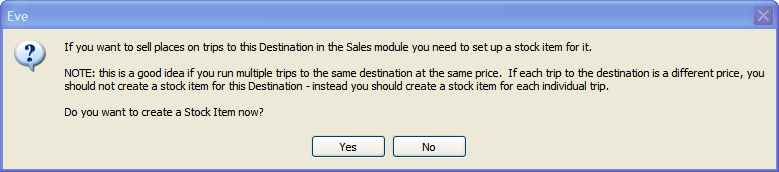
- Once you’ve added your details click the ‘Save’. A dialogue box will open asking if you wish to create a stock item. At this stage we are not using EVE as POS, so click ‘No’.
- You will be returned to the ‘New Destination’ box. Click Close
- The boat you have added will now be highlighted in the ‘Select Destination’ box. Click ‘OK’
- If you are following the notes to ‘Scheduling Day Trips in Calendar, continue from step 6. For “Scheduling Trips (Holidays) in Calendar”, continue from step 5.