Creating Targeted Emails
Learning Outcome
On successful completion of this lesson, students will understand how to create and send targeted emails using EVE.
Lesson
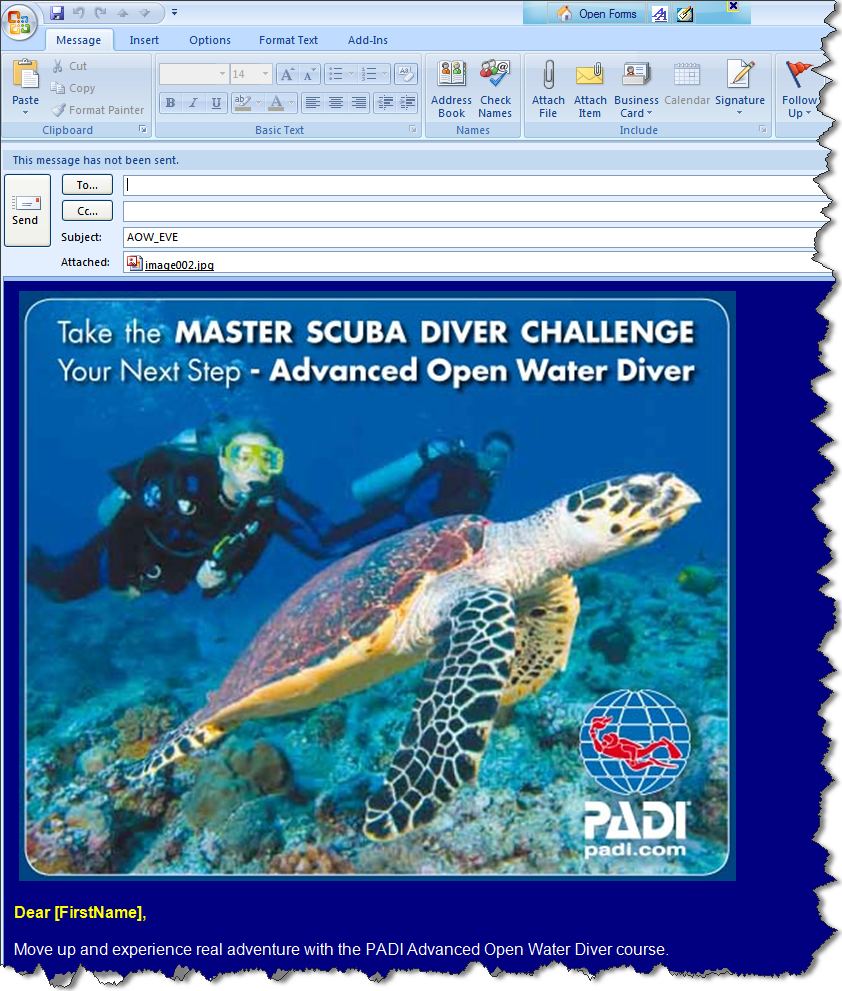
Once you have completed a Customer Search using the Wizard above, you can send targeted emails direct from EVE 5. PADI provides a number of professionally produced email templates for this purpose.
Before You Begin
If you are planning to use the EVE Email Templates (included on the accompanying disc), you will need to first customise them with your logos and contact details and save them into Microsoft Outlook.
- Locate the EVE Email Templates folder on the accompanying disc.
- Copy and save the entire folder to your computer. Use a location that is easy to remember, such as your desktop.
- Open the folder and open a file that you would like to use.
- The email will open in Microsoft Outlook
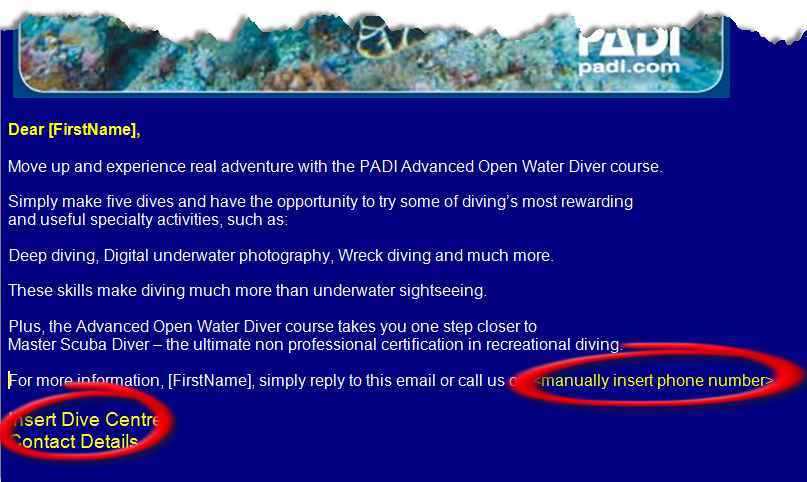
- At the bottom of email you will need to edit two areas – telephone number and Contact Details. You may also wish to add in your logo. Remember though to use an image with a small file size to keep the email to a manageable size.
- Enter your own email address in the ‘To’ box of the email and click send.
- Go to your Inbox in Outlook and locate the message you have just sent yourself.
- Right click and select ‘Move to Folder’
- Choose the folder you want to move the message to. It will probably be a good idea to create an ‘EVE Email
- Template’ folder.
- Repeat these steps each time you want to use a new EVE Email Template.
Sending Targeted emails
- Create a search as described in the ‘Customer Search Wizard’ section.
- In the ‘Results’ tab, select all of the Customers (keyboard shortcut: Click ‘Ctrl + A’) and click the ‘Email’ button
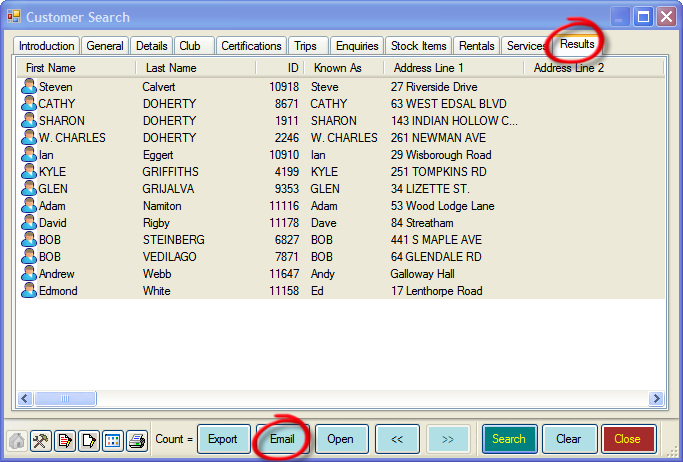
- The email box will open
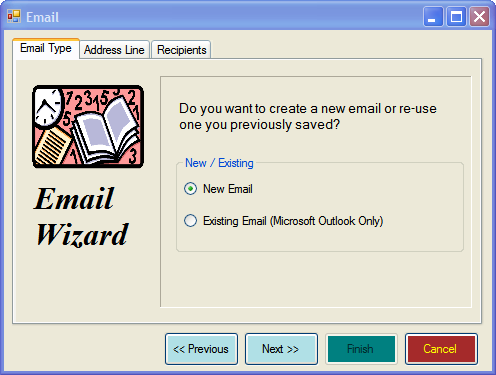
- Select ‘Existing Email (Microsoft Outlook Only). Notice that additional tabs appear.
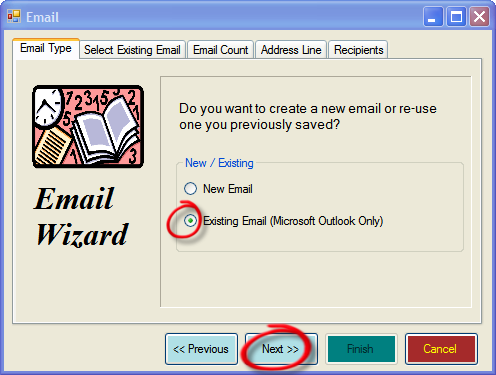
- Click ‘Next’. The ‘Select Existing Email’ tab will open
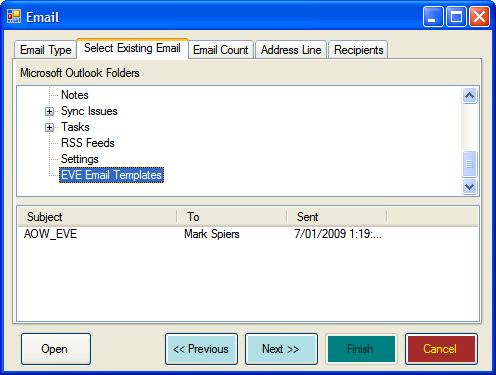
- Select the folder you created in step 9 of the “Before You Begin’ section above. If you followed our recommendation this will be ‘EVE Email Template’. You may need to expand the folders (click the + symbol) to find it.
- A list of all your saved emails will appear in the bottom pane. Highlight the email you wish to use and click ‘Next’.
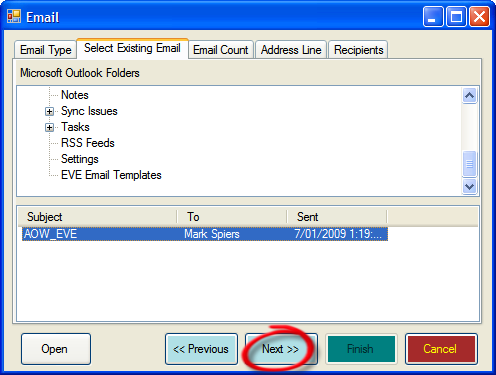
- The Email Count Tab will open. We now have two options:
- ‘Send one email to multiple recipients’
- This means that one email will be sent with every customer we have selected in the address field.
- While this is fine for small numbers of recipients, it can cause problems if used for large numbers. Also, the email will not be personalised.
- ‘Send an individual email to each recipient’
- This means that if we have 25 recipients for our email, we will send out 25 separate email – one for each person.
- This is the preferred option for ‘bulk’ emails and it also allows us to address the email personally to each customer using merge fields.
- ‘Send one email to multiple recipients’
- The email templates that we are using already make use of merge fields so we will choose the ‘Send an individual email to each recipient’ option.
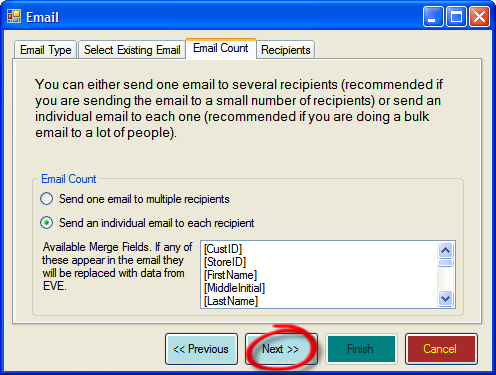
- Click Next and the ‘Recipients’ tab will open.
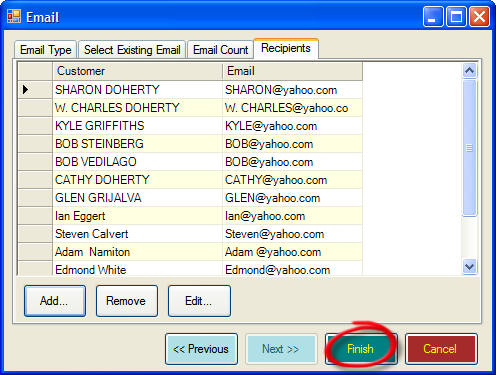
- Here you can check the recipients and add and remove them if you wish. Once you are happy with the recipient list, click ‘Finish’
- A dialog box will open, asking if you wish to send this email. Click ‘Yes’.
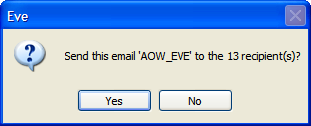
- An individual, personalised email will now be sent to each of the recipients.