How to use the Customers feature of the EVE Pro App
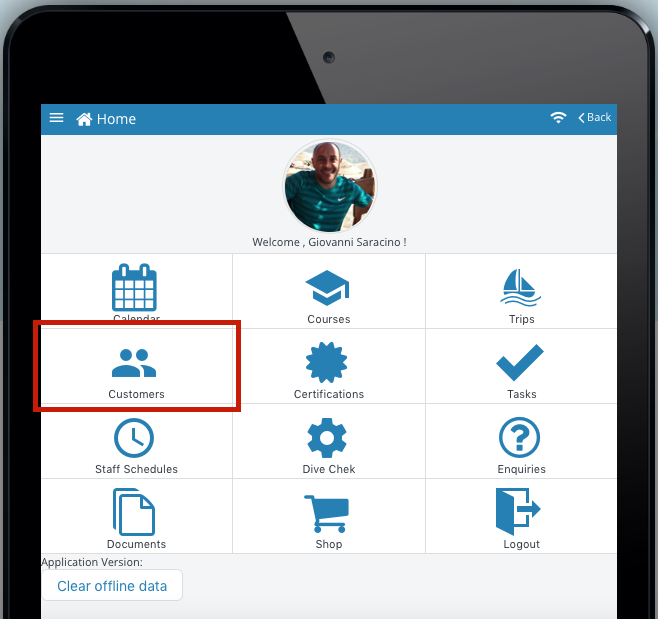
On the home page of the EVE Pro App click the ‘Customers’ icon:
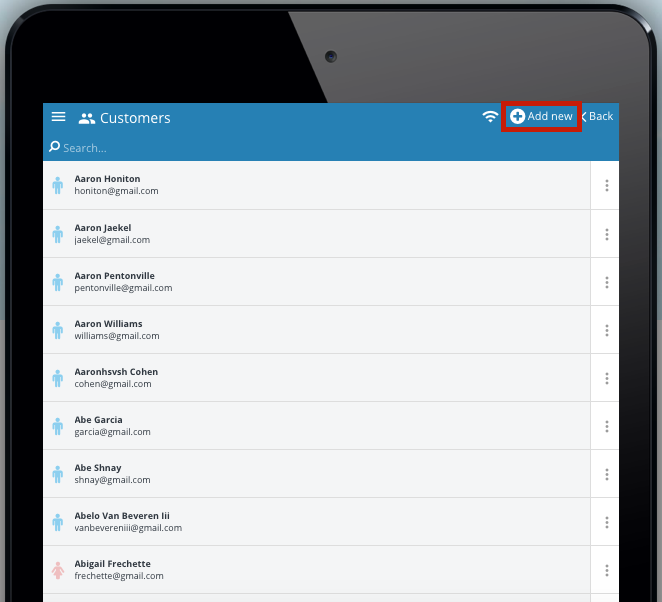
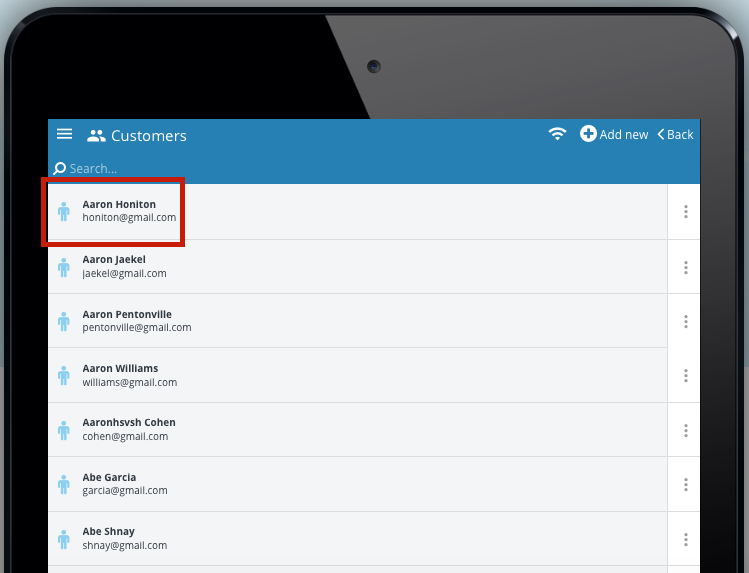
This will take you to the ‘Customers’ main page and which will display all the customers on the dive store’s EVE database if the EVE Pro App is opened when the user’s device is connected to the internet. The EVE Pro App user can add a new customer to the EVE Database by adding the ‘Add new’ icon:
A new customer can also be added by clicking the ‘Customers +’ icon found in the dropdown menu:
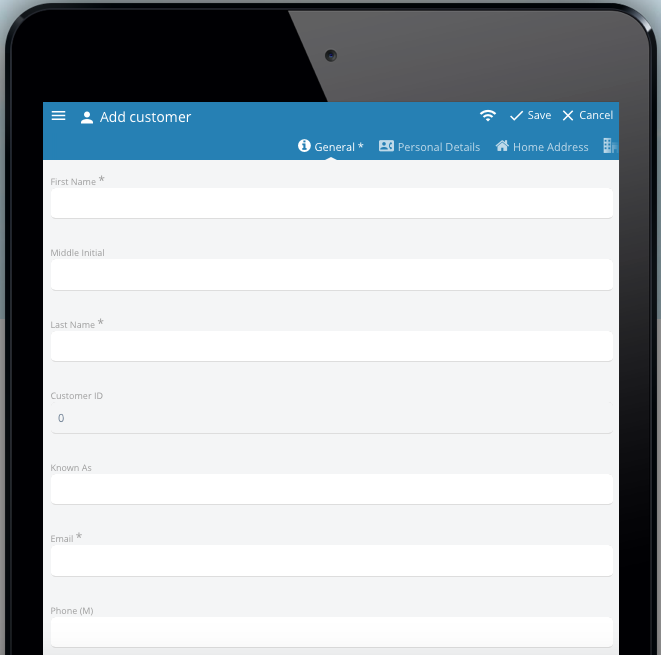
On the ‘General’ tab the EVE Pro App user can enter the following information:
- First Name*
- Middle Initial
- Last Name*
- Known As
- Email*
- Phone (M)
- Phone (H)
- Phone (W)
- Customer Type
- Mailing List
* Minimum information that must be entered before the new customer record can be saved.
Clicking into the ‘Customer Type’ cell will open a new window. Use the individual or toggle ‘All’ options to allocate the customer type(s) to the new customer record. Click ‘Done’ to go back to the ‘General’ tab to continue entering other information.
Clicking into the ‘Mailing List’ cell will open a new window. Use the individual or toggle ‘All’ options to allocate the mailing list(s) to the new customer record. Click ‘Done’ to go back to the ‘General’ tab to continue entering other information.
Clicking on the ‘Personal Details’ tab will open a window which will allow the EVE Pro App user to enter the following details for the new customer record:
- Date of Birth
- Sex*
- Marital Status*
- Enquiry Source*
- Account Manager*
- Skype Name
- Fax
- Pager
*By clicking into these cells, it will open new windows so the EVE Pro App user can select from defined options saved in the EVE database.
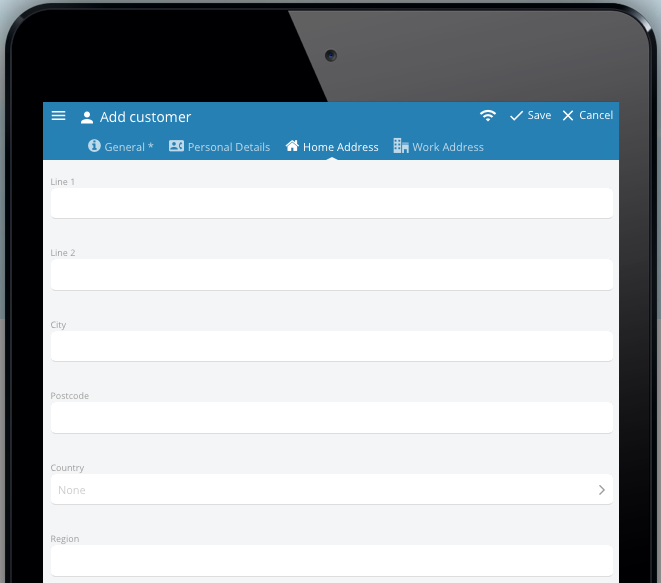
Clicking on the ‘Home Address’ tab will open a window which will allow the EVE Pro App user to enter the following details for the new customer record:
- Line 1
- Line 2
- City
- Postcode
- Country*
- Region
*By clicking into these cells, it will open new windows so the EVE Pro App user can select from defined options saved in the EVE database.
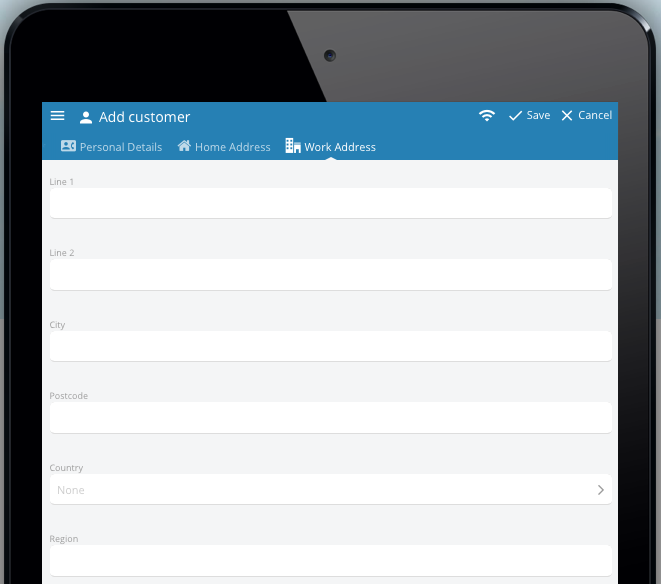
Clicking on the ‘Work Address’ tab will open a window which will allow the EVE Pro App user to enter the following details for the new customer record:
- Line 1
- Line 2
- City
- Postcode
- Country*
- Region
*By clicking into these cells, it will open new windows so the EVE Pro App user can select from defined options saved in the EVE database.
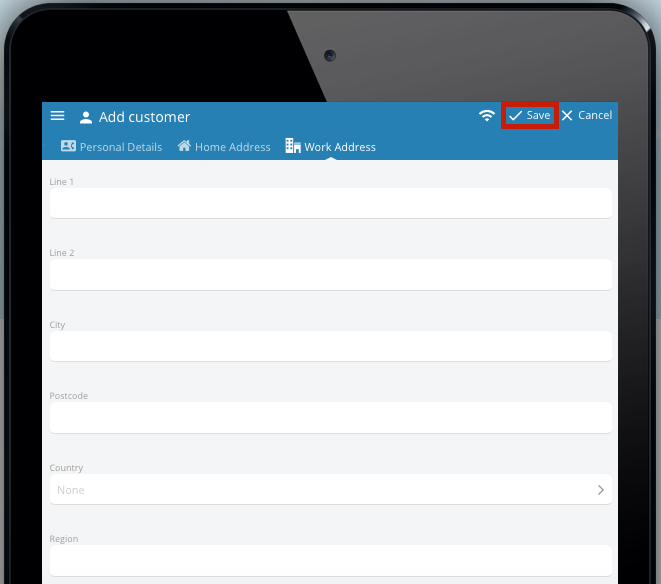
To save a new customer record click ‘Save’ once all the required information has been entered:
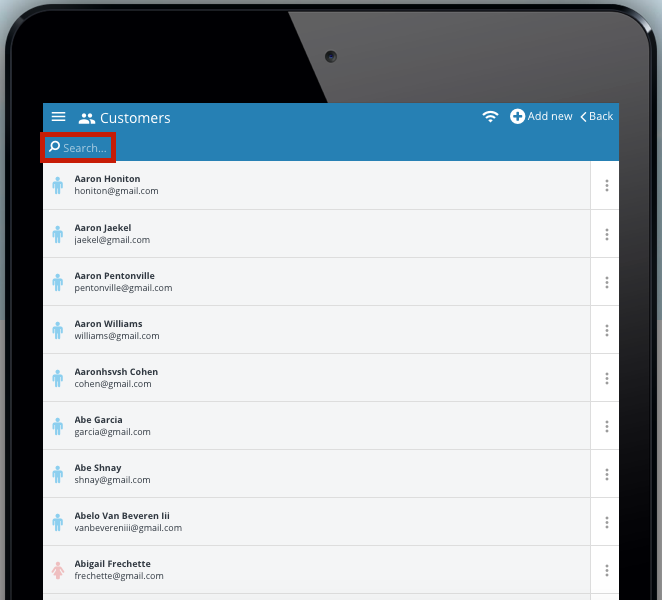
The EVE Pro App user can manually scroll down the customer list or find a specific customer by typing their name into the ‘Search’ icon magnifying glass to use the filter option:
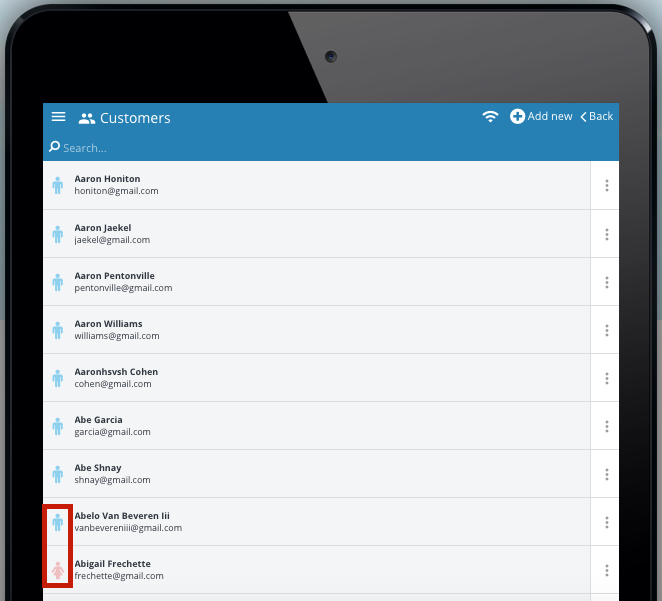
The gender allocated to customers can be seen by the different colour icons:
Clicking on the associated 3 dot menu/drawer icon of a specific customer reveals a series of different options:
This enables the EVE Pro App user to perform a ‘Dive Chek’ and to send the individual customer an SMS/email message or to call the customer using the EVE Pro App user’s device:
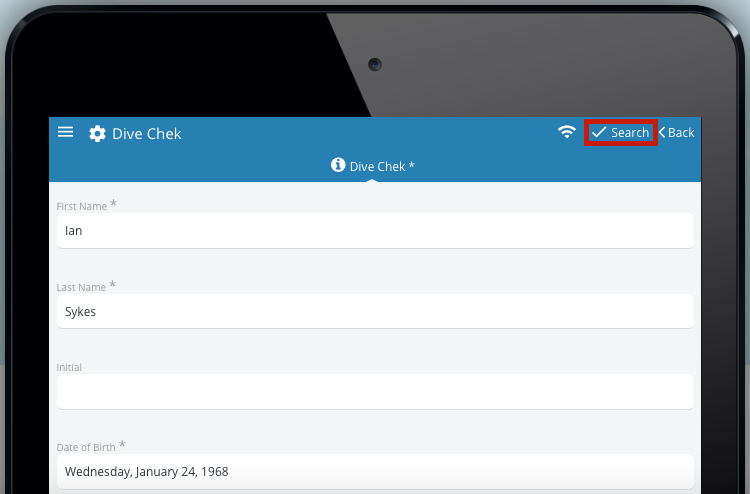
To Dive Chek a customer click the ‘Dive Chek’ link, review their customer details and then click ‘Search’:
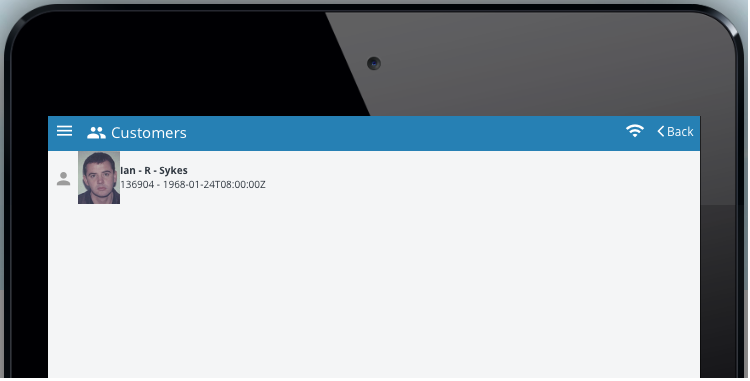
This will open a new window with their name and picture that is held on the PADI database:
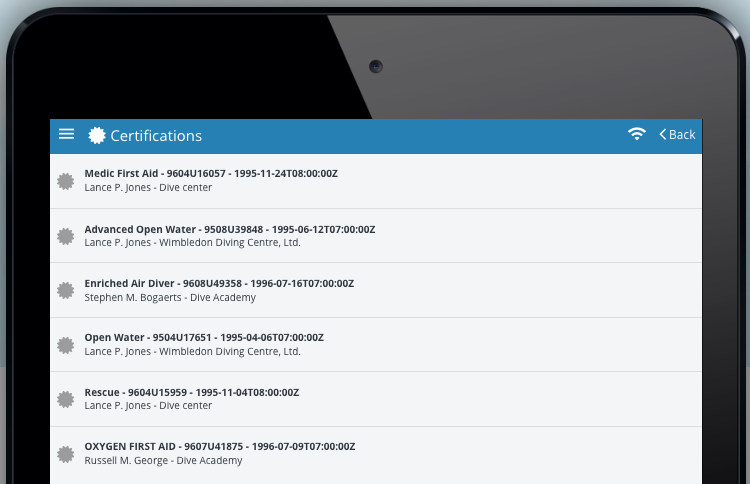
Click the name/picture and this will open a new window displaying the certification(s) held on PADI certifications database:
- Diving certifications
- PADI student number
- Certification date
- Certifying instructor name (and dive store where applicable)
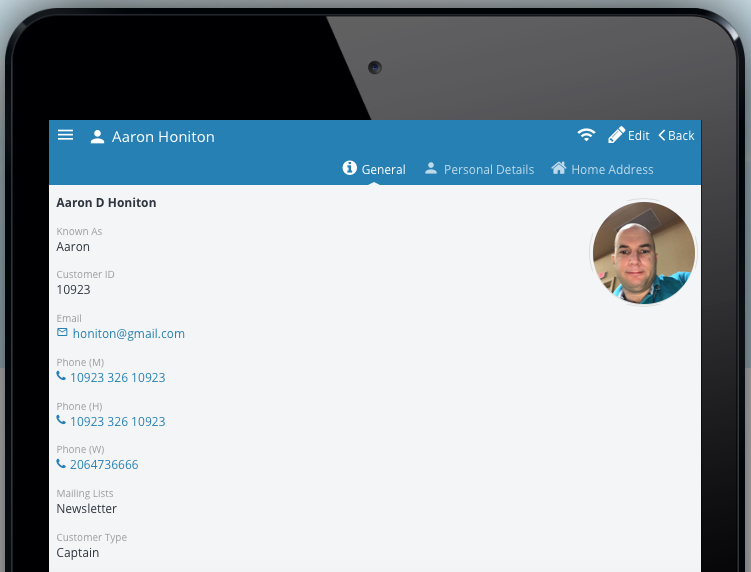
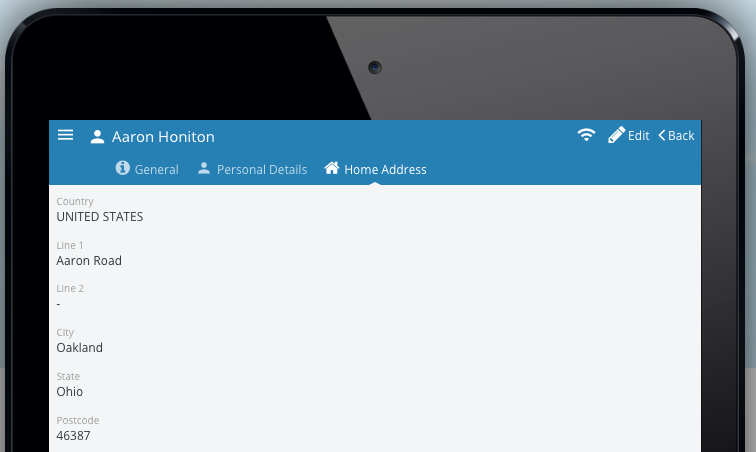
From the general list of customers, when you click on a specific customer this opens a window with 3 new tabs – ‘General’, ‘Personal Details’ and ‘Home Address’:
The ‘General’ tab displays:
- Customer’s name
- Known as
- Customer ID
- Phone (M)
- Phone (H)
- Mailing Lists
- Customer Type
The ‘Personal Details’ tab:
- Date of Birth
- Age
- Sex
- Marital Status
- Enquiry Source
- Account Manager
- Skype Name
- Fax
- Pager
Home Address:
- Country
- Address Line 1
- Address Line 2
- City
- State
- Postcode
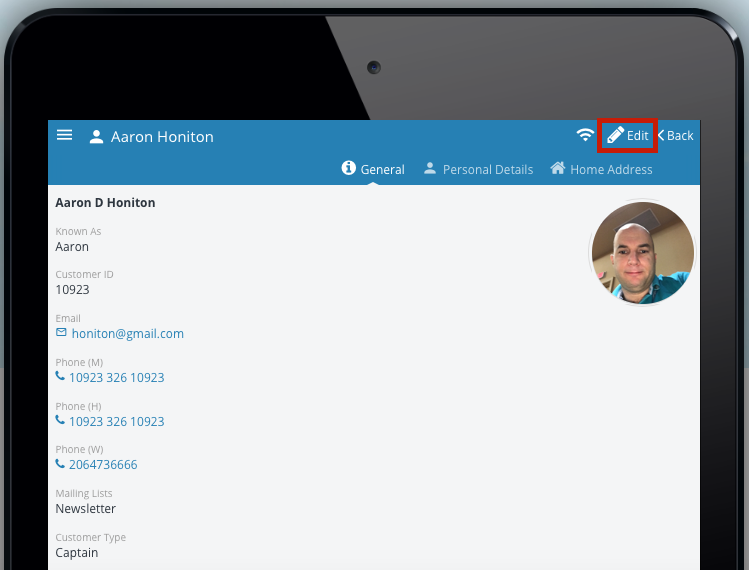
The EVE Pro App user can click the ‘Edit’ icon to edit the customer user:
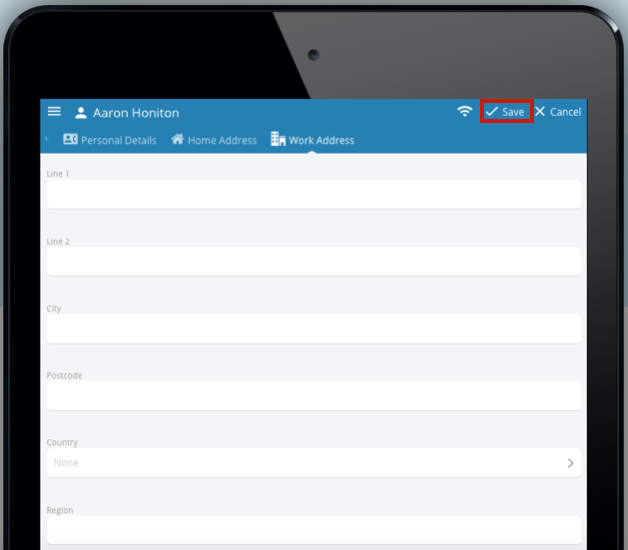
The customer’s ‘General’, ‘Personal Details’, ‘Home Address’ and ‘Work Address’ details can be edited by clicking the on the appropriate tabs. Clicking on the ‘Work Address’ tab allows the following details to be edited:
- Address Line 1
- Address Line 2
- City
- Postcode
- Country
- Region
Click the ‘Save’ icon to save any changes that have been made to the customer details .

