Click here to download the Cisco VPN setup program. Save it to your computer, unzip the file and then run it.
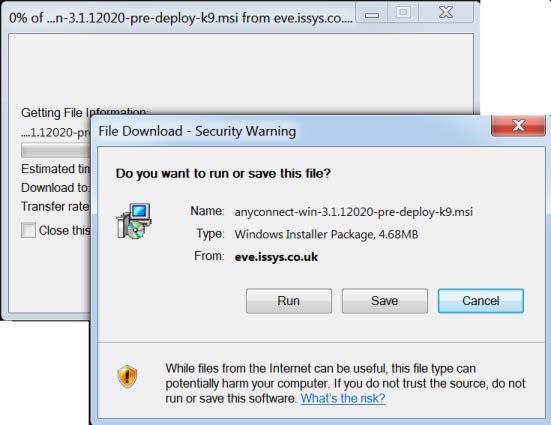
Follow the screen prompts.
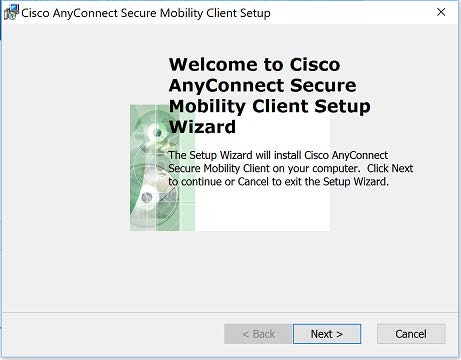
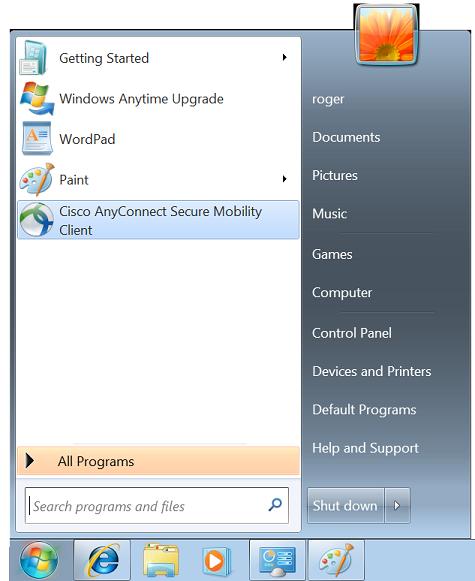
When the setup is complete, start the Cisco AnyConnect Secure Mobility Client program. How you do that depends on
the version of Windows you have. E.g. in Windows 7 click Start and you’ll see the program on your Start menu.
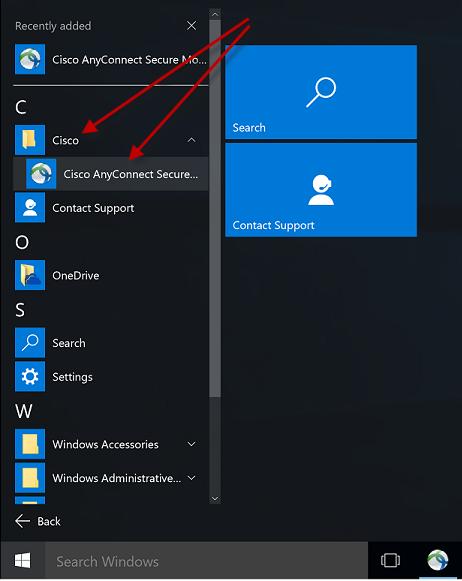
In Windows 10, click Start then All Apps. You’ll see the program in the Recently Added section and also in the Cisco
folder.
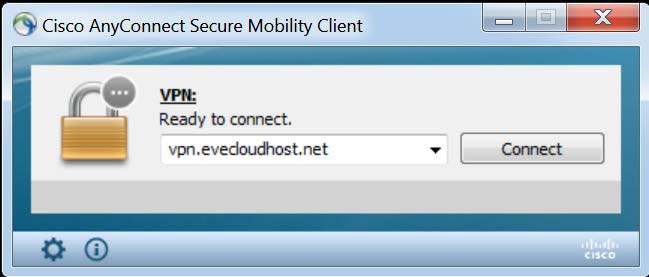
Once the program has started, type vpn.evecloudhost.net into the text box and click Connect.
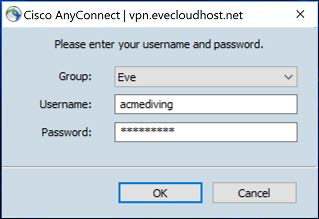
Make sure Eve is selected in the Group box, enter the username and password we sent you by email and click OK. If you were provided with a security certificate, then install your security certificate.
You are now ready to start EVE and connect to your hosted database.
Note: each time you reboot your computer, the Cisco client will start automatically. i.e. after the first time you won’t
need to start it by clicking the Start button as described above. For security reasons, you will be required to enter your
password each time.
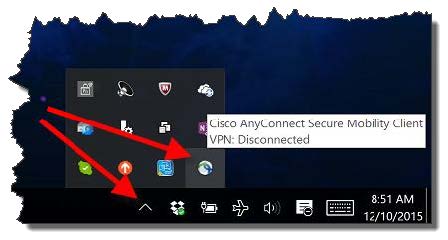
When the VPN is running, you’ll see the Cisco icon in your system tray at the bottom right of your screen. You can click
that if you ever need to Disconnect or Reconnect the VPN.
Comments are closed.