How to use the Courses feature as an EVE Pro Plus App user
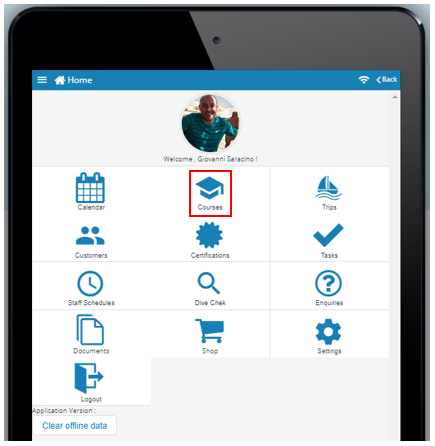
On the home page of the EVE Pro App click the ‘Courses’ icon:
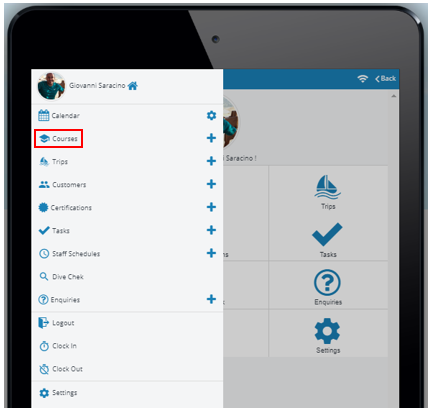
Or click the 3 bar ‘Menu’ icon in the top left hand corner to open the list of options and click the ‘Courses’ icon:
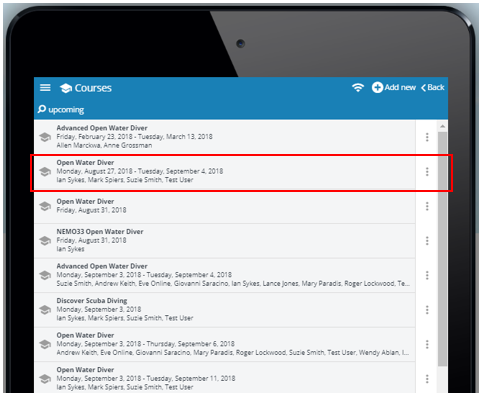
This will take you to the ‘Courses’ main page which will feature all the upcoming courses that are in the dive store’s EVE database.
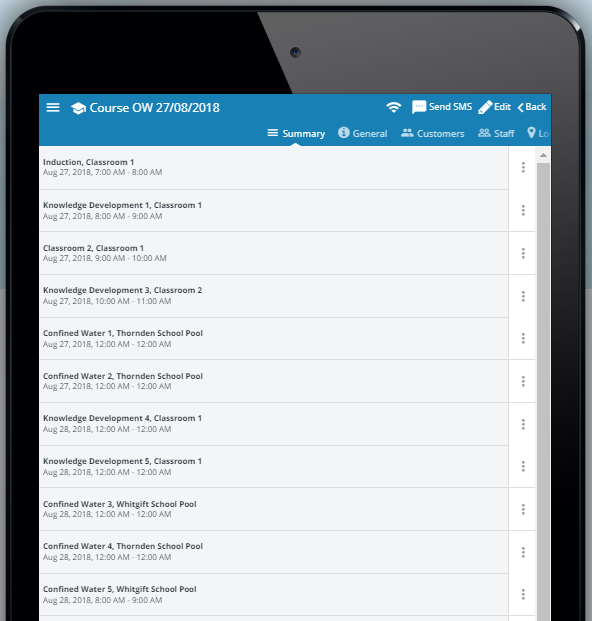
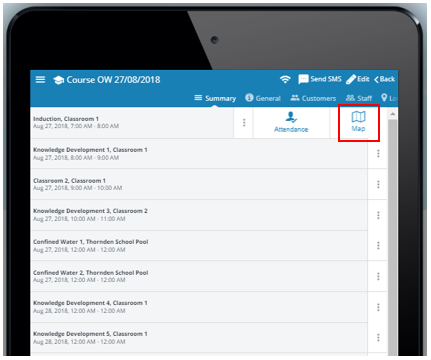
Clicking on a specific course from the list displayed will reveal the ‘Summary’ tab which displays the modules assigned to that course with their start and end dates:
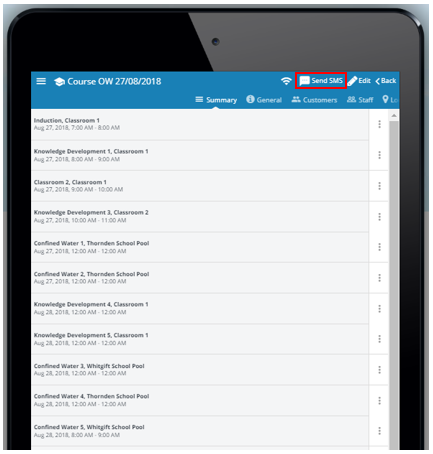
The EVE Pro Plus App user can send a group SMS message from EVE Pro App user’s device about course related messages/updates to all the students enrolled on this specific course by clicking the ‘Send SMS’ link:
Click the double arrow icon to reveal the list of the enrolled students:

Use the individual or toggle ‘All’ options to decide which student(s) to send the SMS message to and then click ‘Done’:

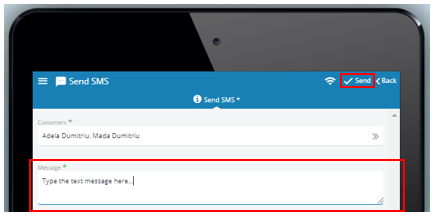
Type the SMS message in the ‘Message’ window and click ‘Send’ to send the SMS message using the EVE Pro Plus App user’s device:
On the ‘Summary’ tab click on the 3 dot menu/drawer icon of a specific module to reveal the ‘Attendance’ and ‘Map’ options:

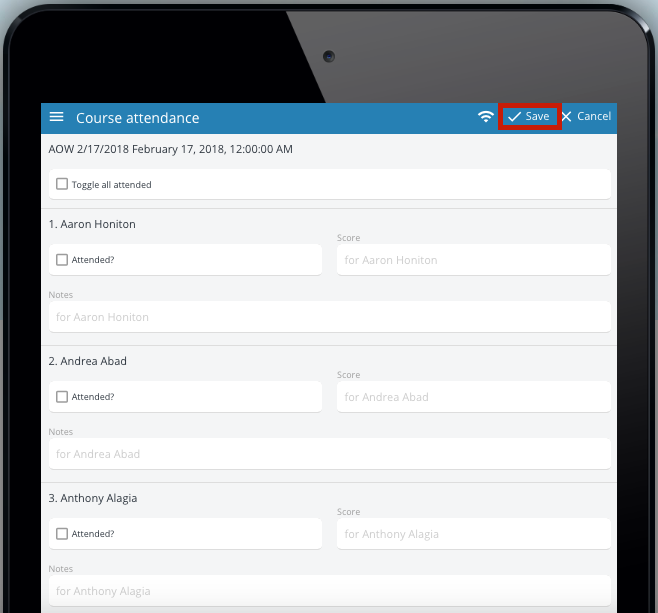
Clicking on the ‘Attendance’ option reveals the students signed up for that course:

This provides the EVE Pro Plus App user with opportunities to individually add scores for each student (if this is applicable for that module), check the attendance per student or to ‘Toggle all attended’ and add notes to each student if required. Click the ‘Save’ link to save the changes:
On the ‘Summary’ tab, click the 3 dot menu/drawer icon of a specific module and then click on the ‘Map’ option to open an internet window for Google Maps which allow the EVE Pro Plus App User to plan their journey to the location allocated for that module.
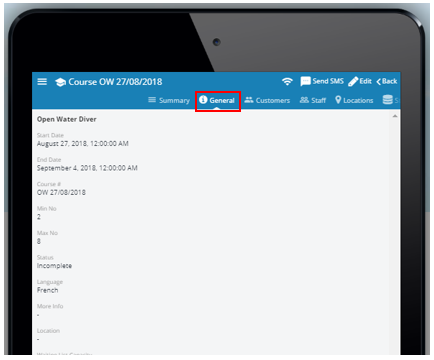
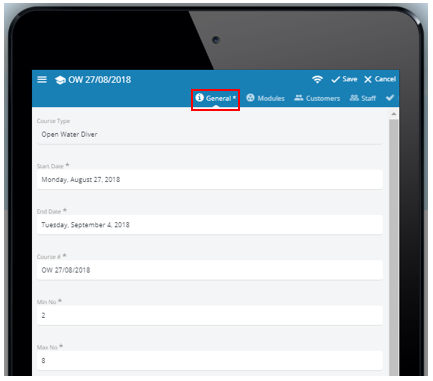
Clicking on the ‘General’ tab of the ‘Courses’ page will display the details of the course which includes:
- Course Type
- Start Date
- End Date
- Course #
- Min No*
- Max No*
- Status
- Language
- More Info
- Location
- Waiting List Capacity
- Notes – Notes that appear on the customer’s invoice
- Private Notes – Notes that don’t appear on the customers invoice
* Numbers of students that could sign up to this specific course
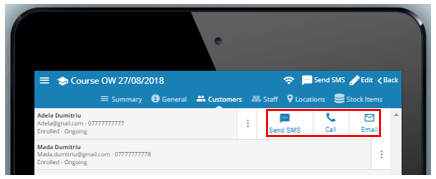
Clicking on the ‘Customers’ tab will display the customers enrolled with their telephone number and email address. Clicking on the 3 dot menu/drawer icon reveals the options to send the individual student an SMS/email message or to call the student using the EVE Pro App user’s device:
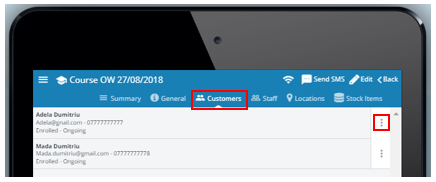
This can be used to communicate course related messages/updates:
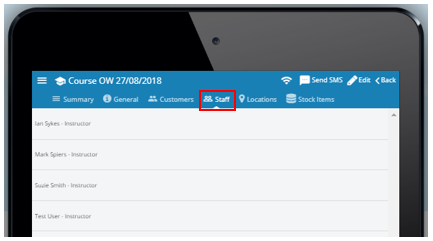
Clicking on the ‘Staff’ tab will display the employees who have been allocated to teach this specific course:
Clicking on the ‘Locations’ tab will display the list of the different locations that are assigned to this course. Clicking on a specific location will open up an internet window for Google Maps which allow the EVE Pro App User to plan their journey to the location allocated for that module.

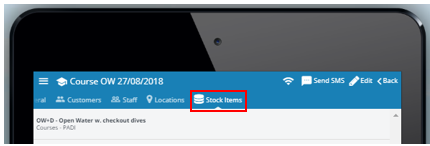
Clicking on the ‘Stock Items’ tab will display the list of stock items that are assigned to this course.
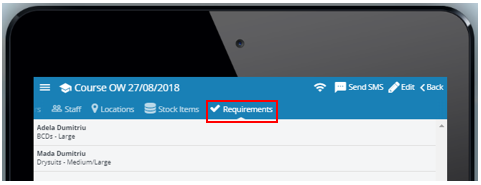
If any rental equipment has been assigned to customers enrolled onto the course there will be a ‘Requirements’ tab which will displayed:
Clicking the ‘Edit’ icon will allow the EVE Pro Plus App user to add/modify course information:

On the ‘General’ tab the EVE Pro Plus App user is able to add/modify general information about the course:
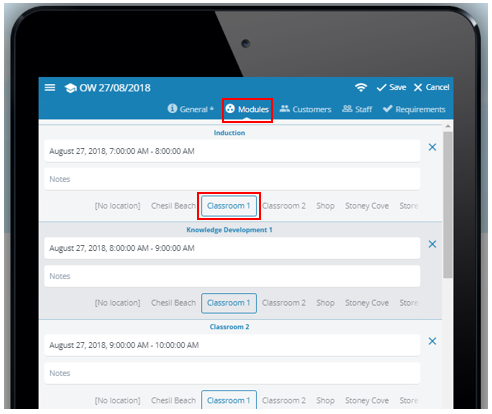
On the ‘Modules’ tab the EVE Pro Plus App user is able to add/modify details for the different modules of the course. The location of a module can be changed by clicking on a the respective location option for that module:
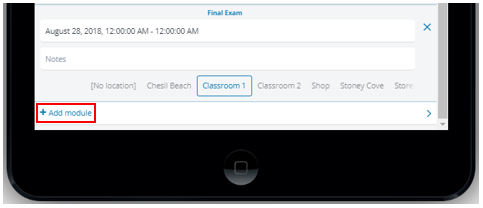
At the bottom of this tab, click the ‘+ Add module’ to add new modules to the course if required:
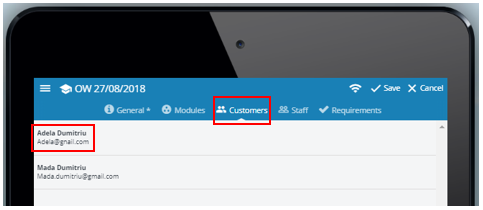
On the ‘Customers’ tab the EVE Pro Plus App user is able to view the customers enrolled on the course and by clicking on a specific customer they can edit a customers details (for more information on how to do this complete the ‘How to use the Customers feature of the EVE Pro App‘).
On the ‘Staff’ tab the EVE Pro Plus App user is remove or add staff to the course:

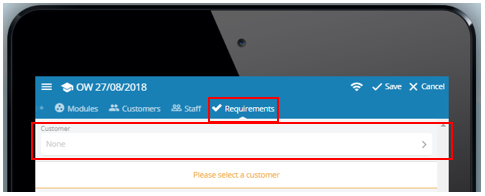
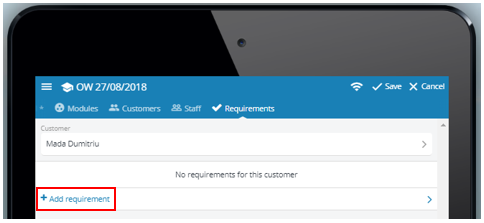
On the ‘Requirements’ tab the EVE Pro Plus App user is add, modify or remove equipment requirements for the customers. To add a requirement click the ‘Please select a customer’ button:
Once a customer has been selected click the ‘+ Add requirement button’ and then select an equipment item:
If there are size options available for the equipment item select the appropriate size:
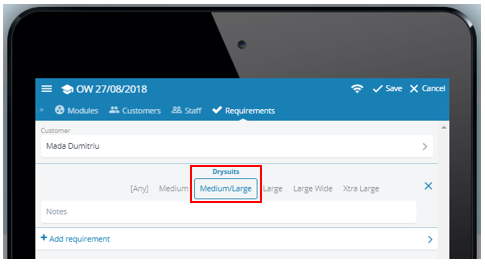
Click the ‘Save’ link to save any ‘Edit’ changes made:

New courses can be added by clicking the ‘+ Add new’ icon on the main upcoming courses page:
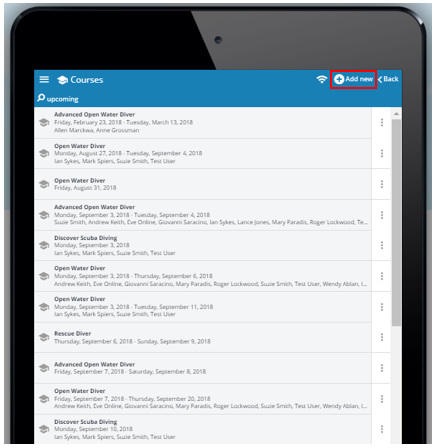
Or by clicking the Courses ‘+’icon when you click on the 3 bar ‘Menu’ icon in the top left hand corner to open the list of options:

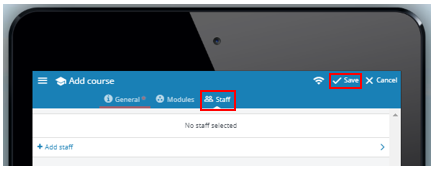
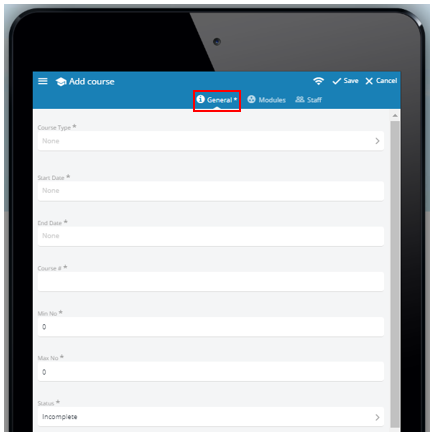
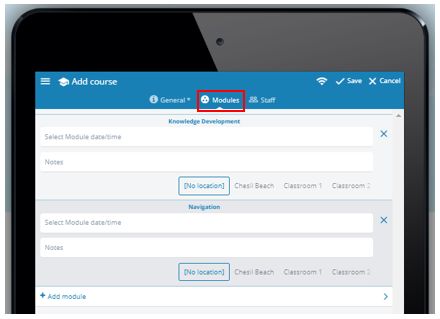
This will open up an ‘Add course page’. On the ‘General*’ tab required information is indicated by a ‘*’ before the new course can be saved:
On the ‘Modules’ tab, modules can be selected with dates/times and locations:
On the ‘Staff’ tab, staff can be added to the course. Click the ‘Save’ link to add the new course: